Power supply - IBM PSU Mod
My CNC machine needs a more powerful power supply. The crap no name 400w one it’s currently hooked to isn’t handling the loads from my new laser very well.
I do have a few old IBM x3650 power supplies lying around - these are dual PSU modules, rated for 69 amps @ 12.1v, and I have the full power supply including the case the modules slide into.
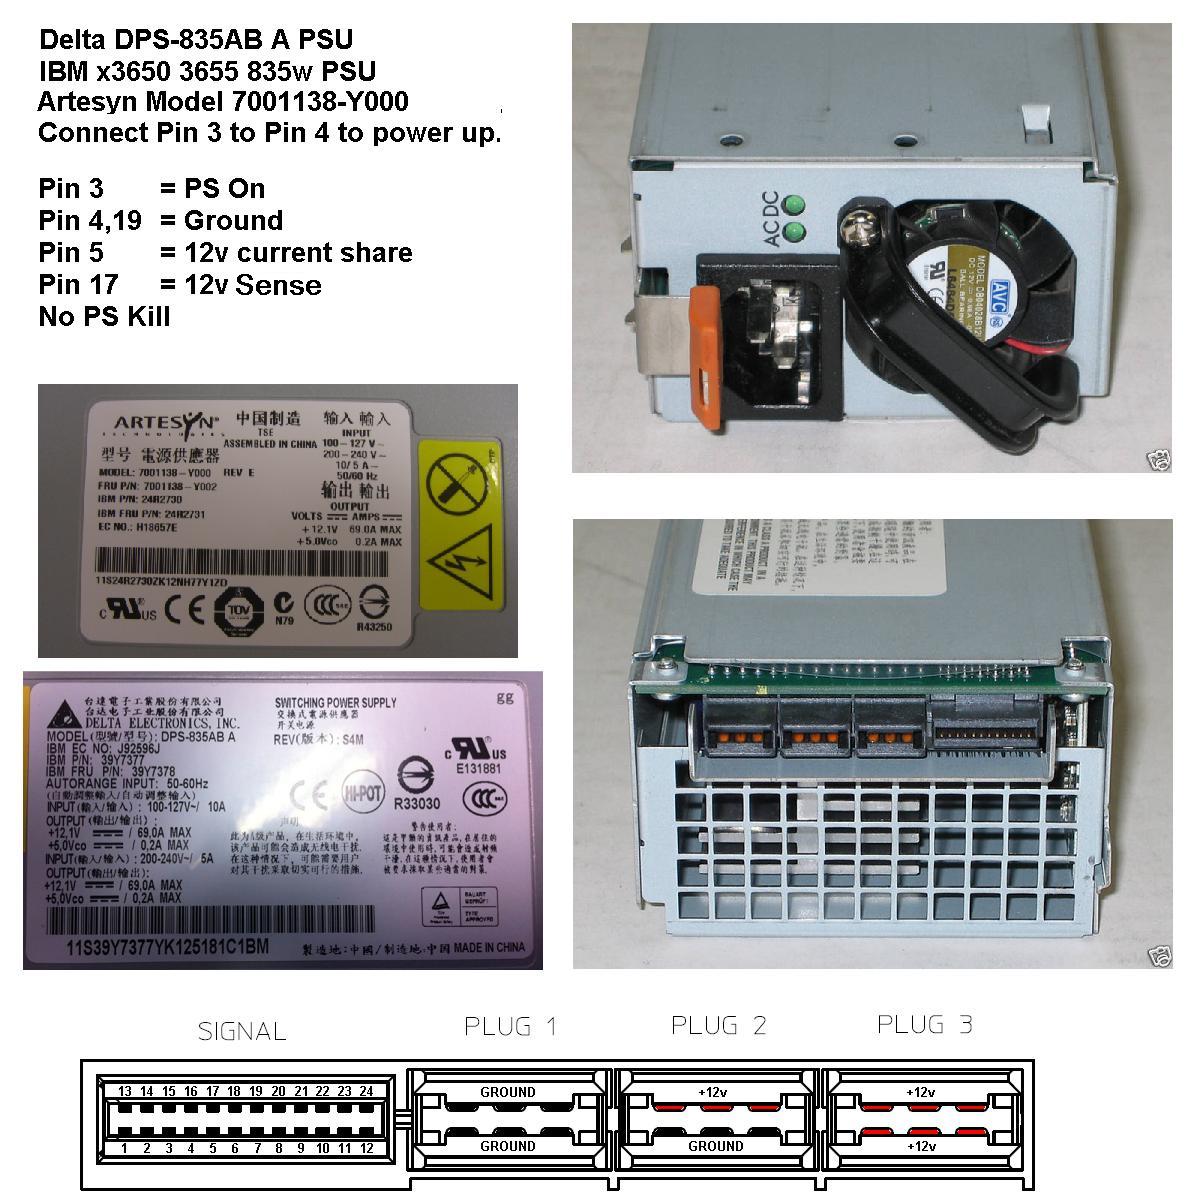
The power supplies are Artesyn model 7001138-Y000. IBM part number 24R2730, FRU 24R2731. Apparently they also go by Delta Electronics model DPS-835AB A, IBM part number 39Y7377.
The chassis for them is Artesyn model 7001160-Y000, IBM part number 24R2737, FRU 24R2738.
Pinout
Thankfully, folks over at rcgroups.com already figured out the pinout for me.
Most people there are either desoldering the connectors and soldering their own to the board, or using copper bus bar for the connectors. But I have the proper connector boards for them, so I’m using that!
Connector board
Disassembling the bigger chassis yields 2 boards with fingers that fit inside the power supply’s connectors. They are attached to a larger board inside the chassis which handles the load sharing for redundant power supplies. We don’t need that, so just cut the wires from that board.
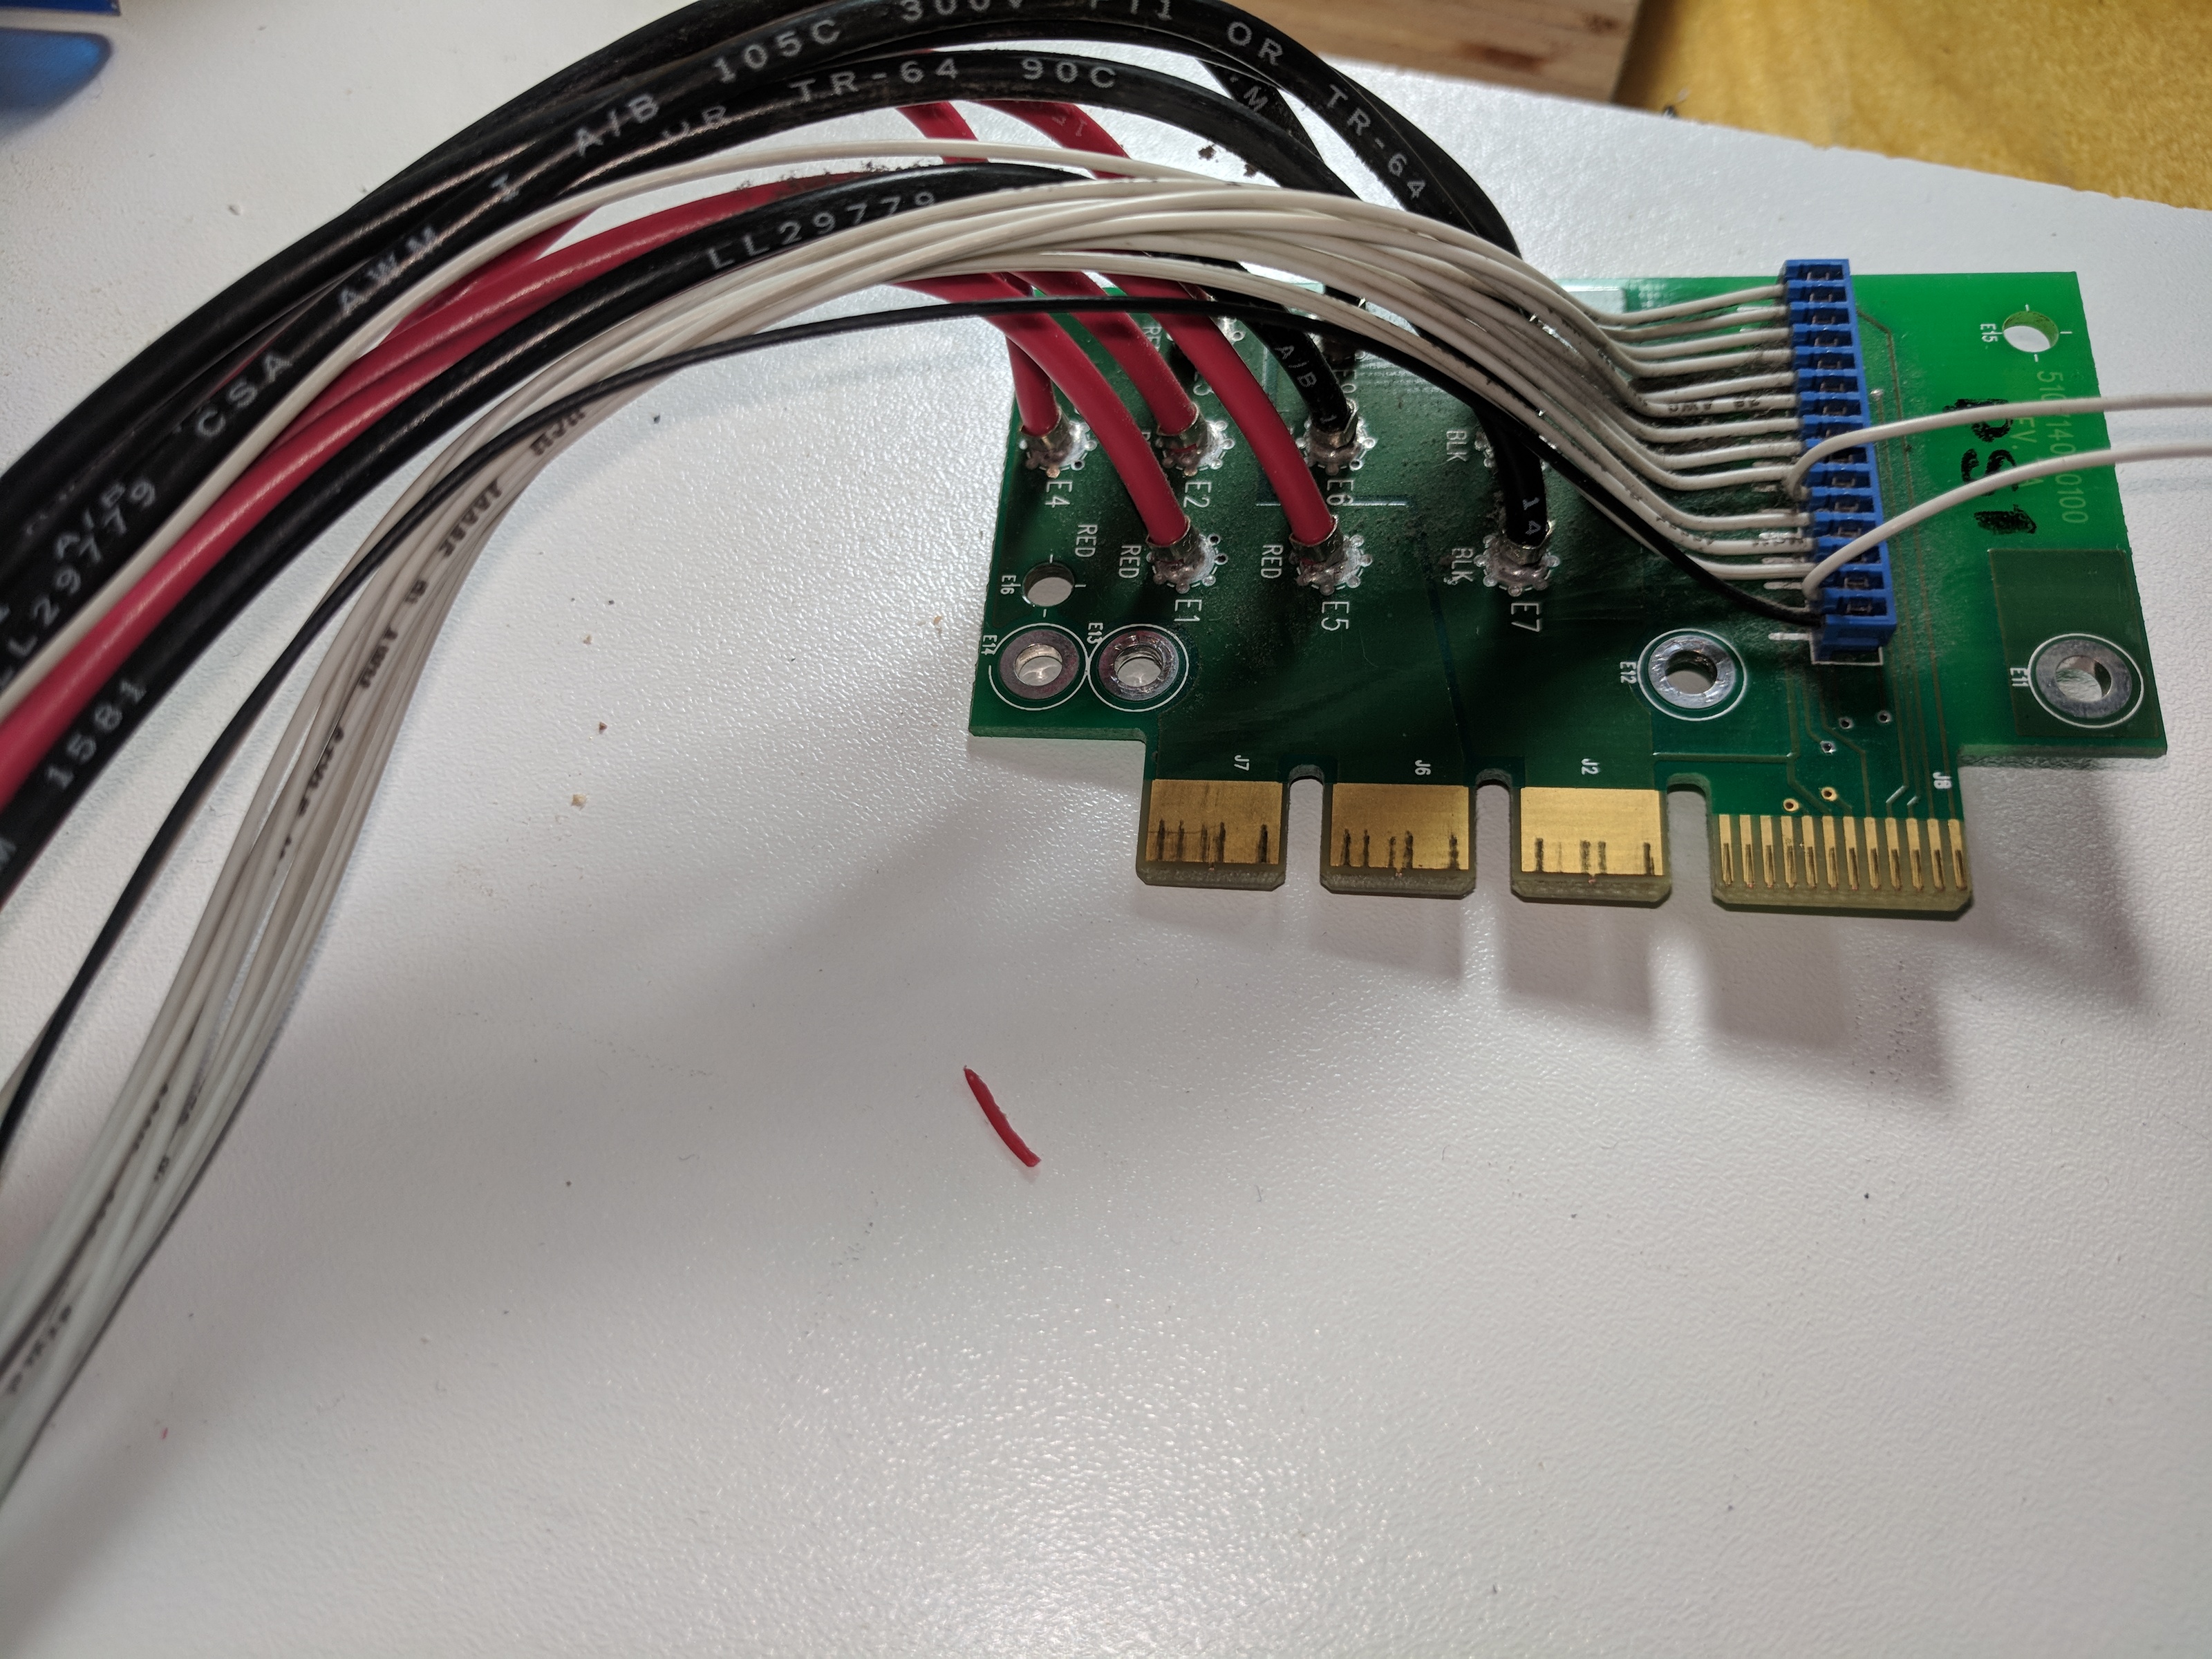
For the thin wires, the second wire from the connector is PS On, and the 6th is ground. Connecting these will turn on the power supply.
For the thick wires, all the reds are +12.1V, all the blacks are ground. All the wires of the same color are connected together, they aren’t separate rails.
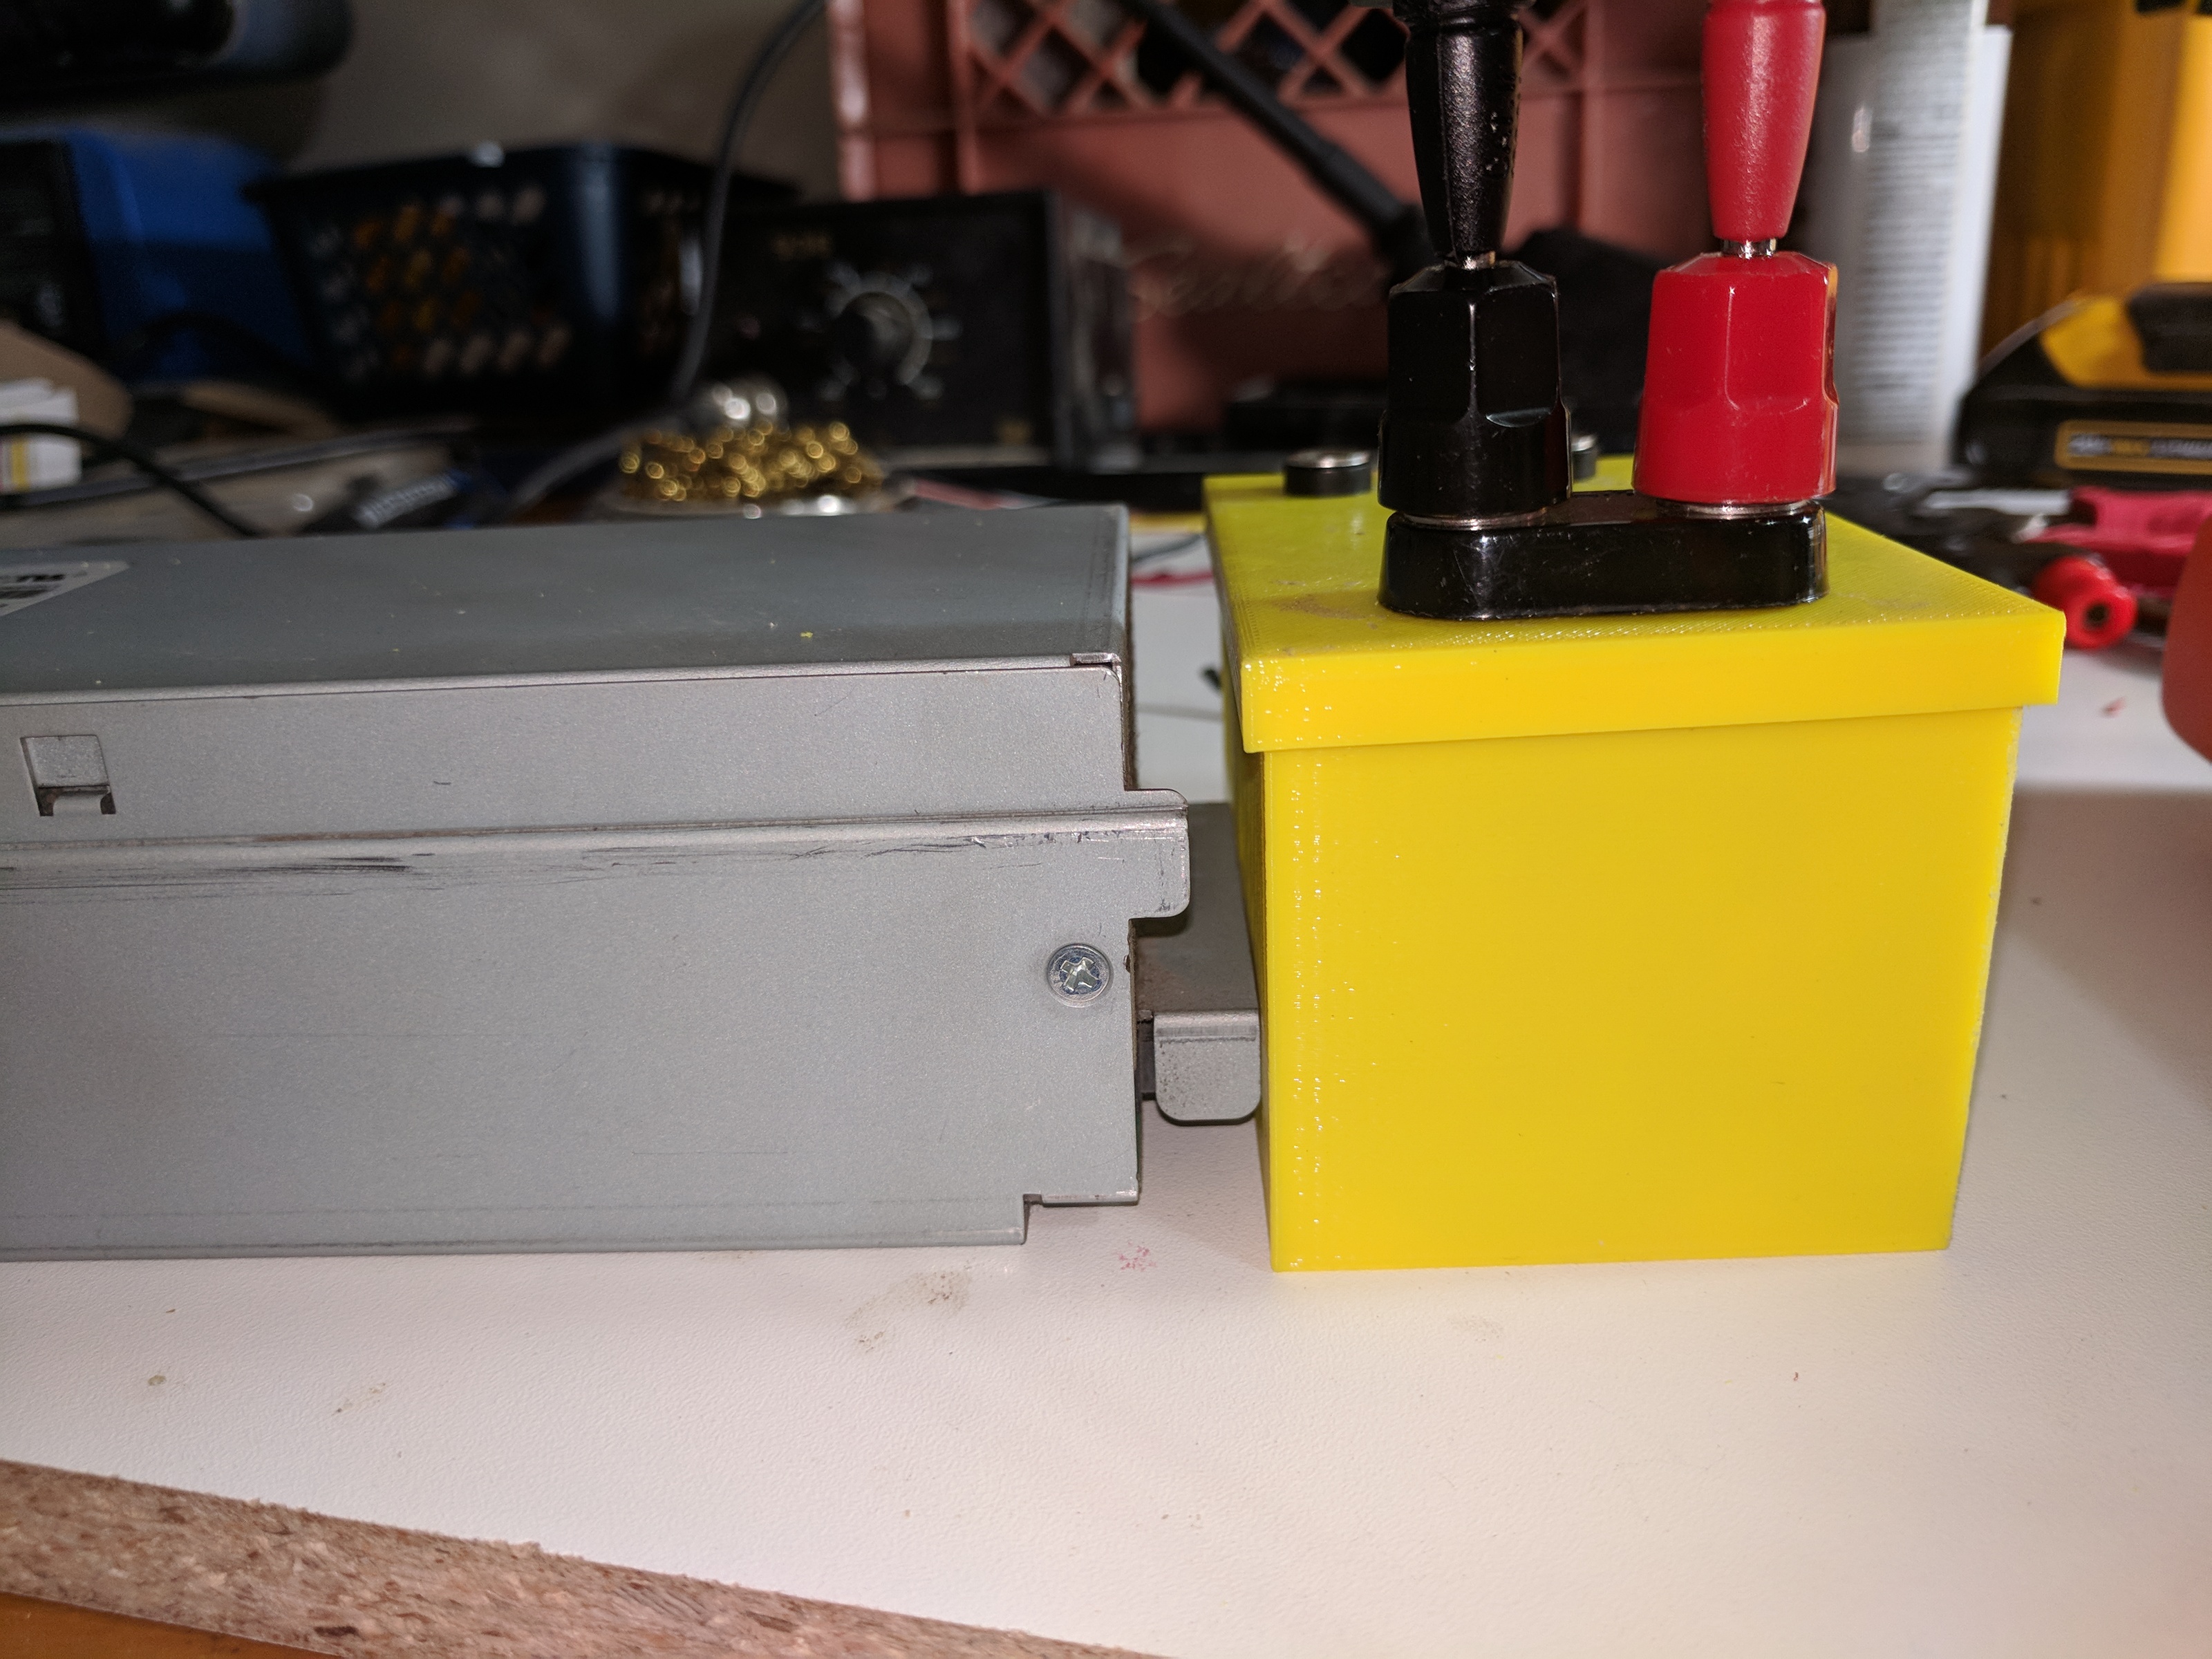
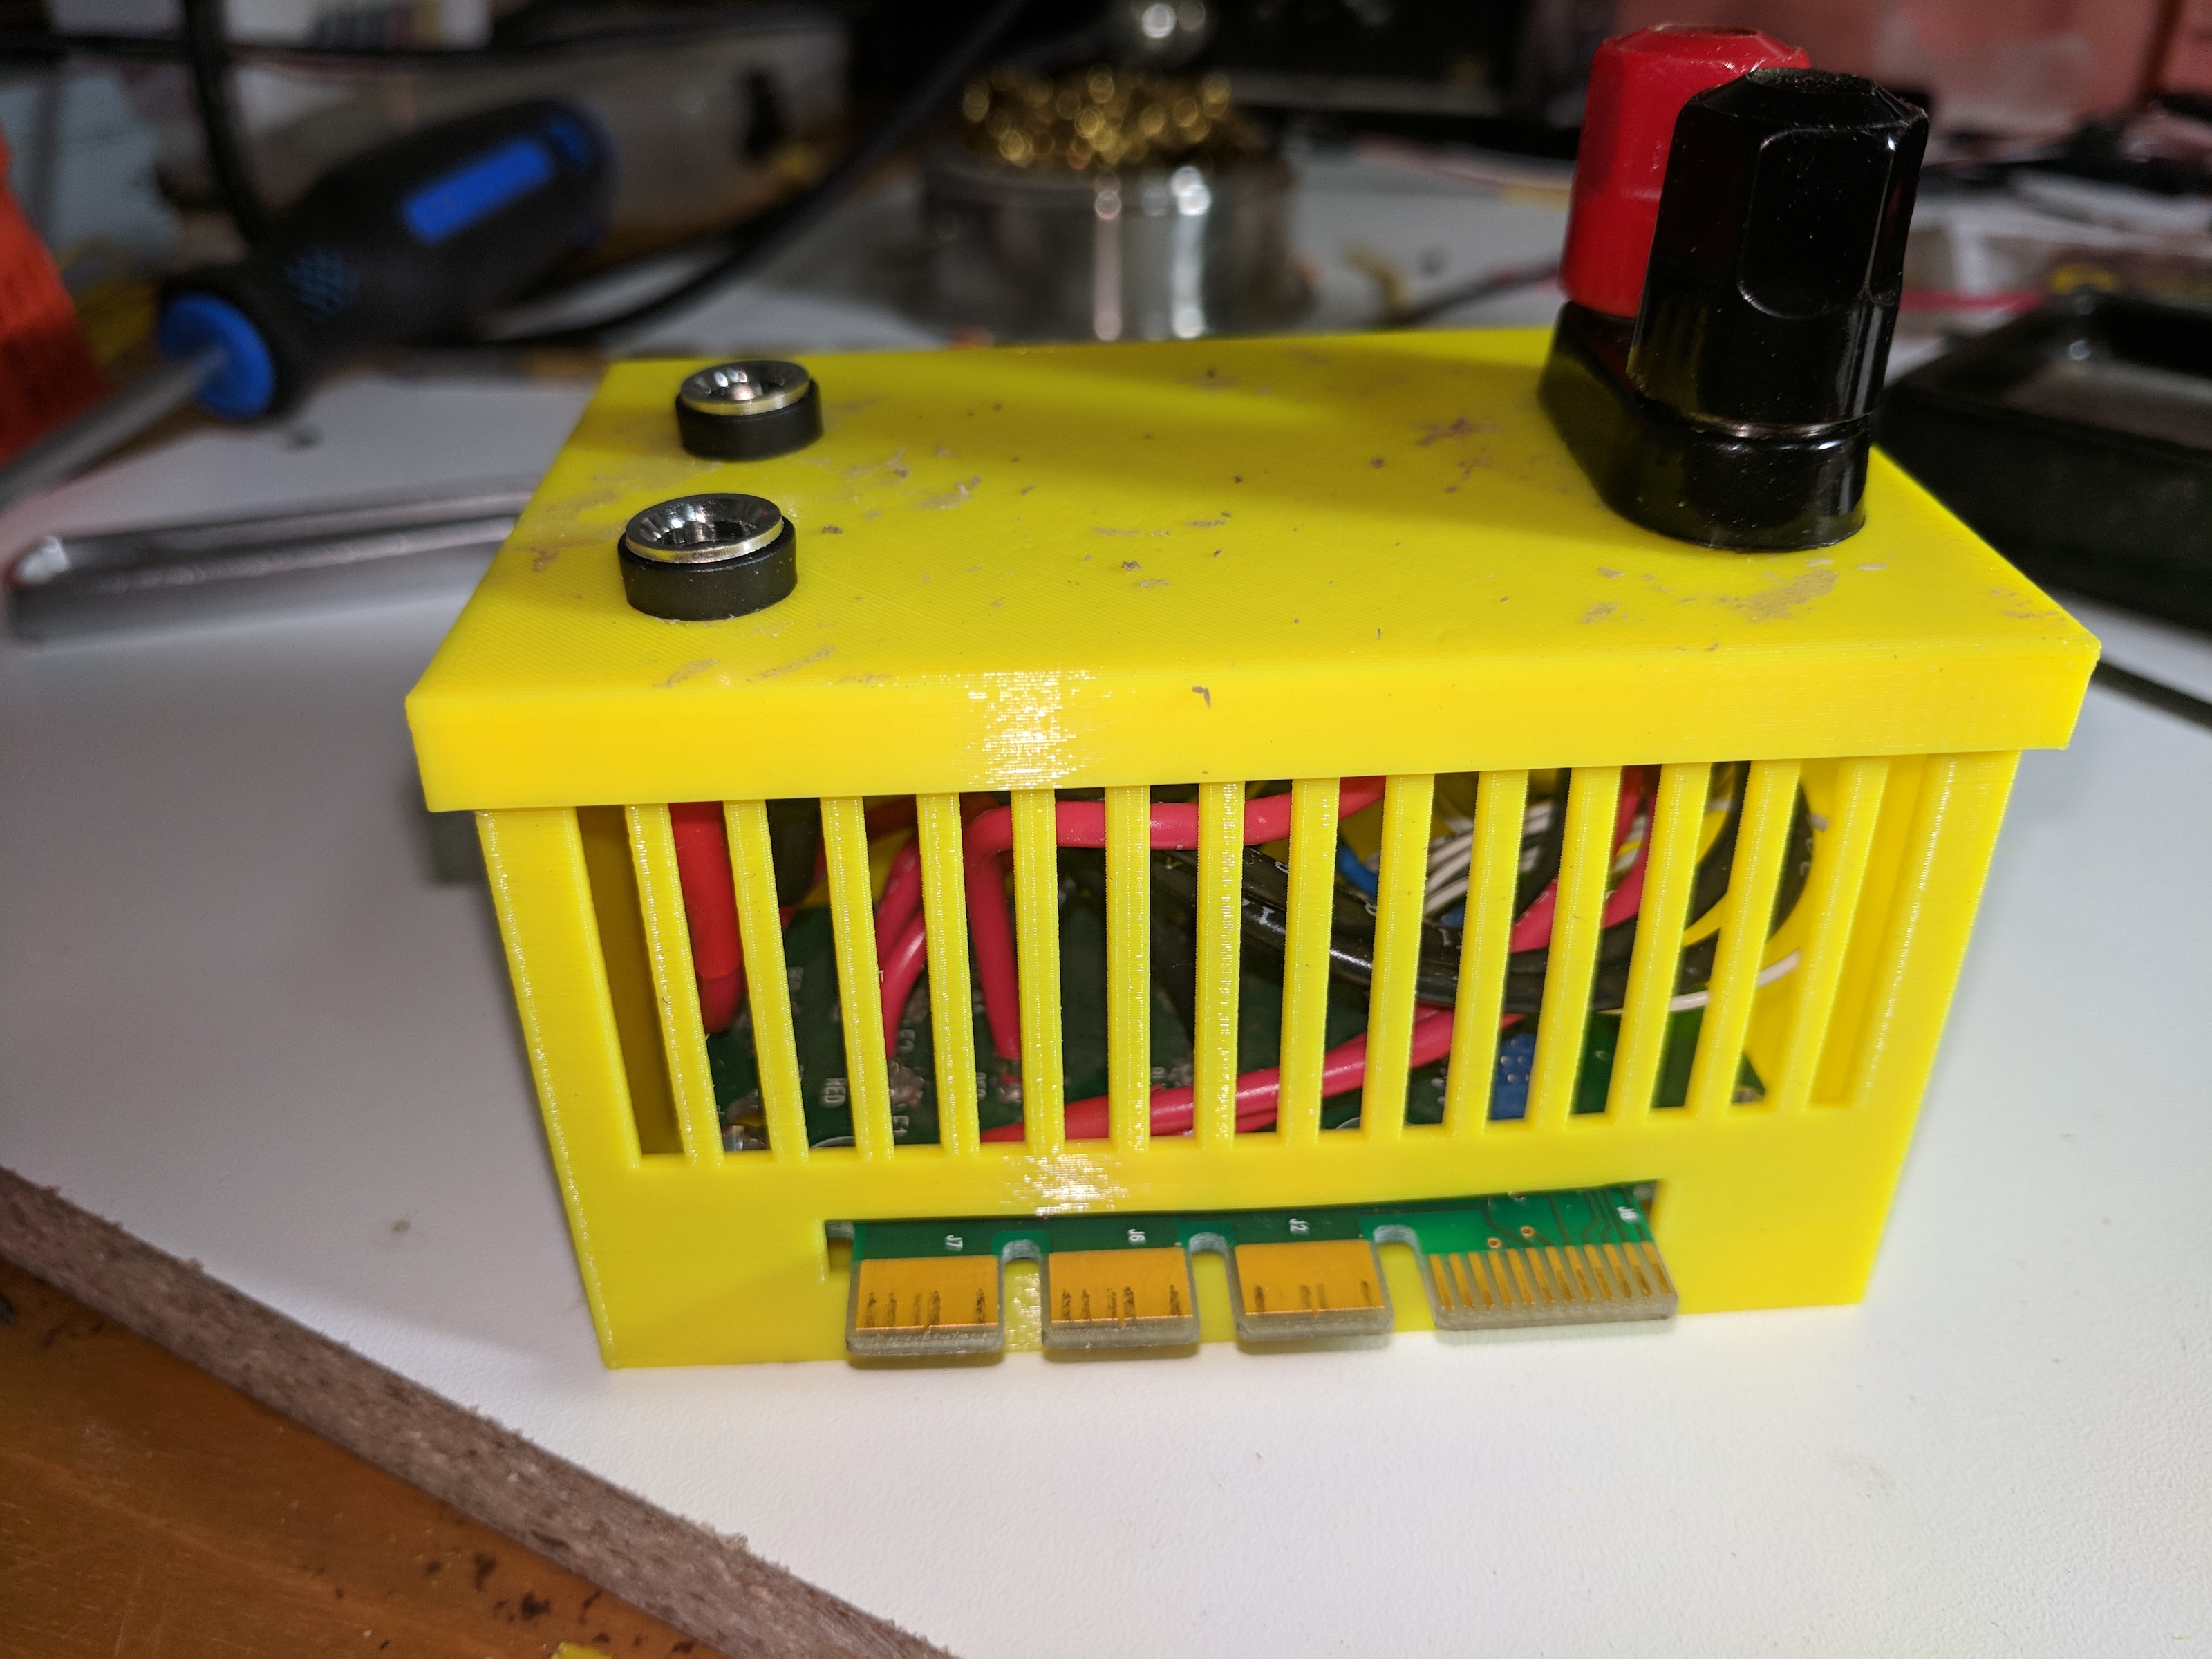
3D Printed Case
I designed and printed a case and lid that hold the circuit board. The holes in the top fit 1 set of binding posts and 2 DC jacks.
I’ve also uploaded the fusion 360 design file in case anyone wants to customize it.
The holes in the side are for ventilation, since this would otherwise block the vent holes at the output side of the PSU. You’ll need to make sure your printer is doing a good job of bridging to print it, especially around the slot for the board to stick out.
Once it printed, I attached the binding posts and jacks to the lid, trimed and soldered the wires, and soldered pins 2 and 6 of the thin wires together to make sure it automatically turns on. You could connect them to a switch instead, but I didn’t have any suitable switches lying around. Heatshrink wrap went around all the connections and the ends of the unused power wires - I left them in there in case I want to add more outputs later on.
The lid just press fits on. You might have to file the edges of the case a little if it doesn’t fit perfectly.
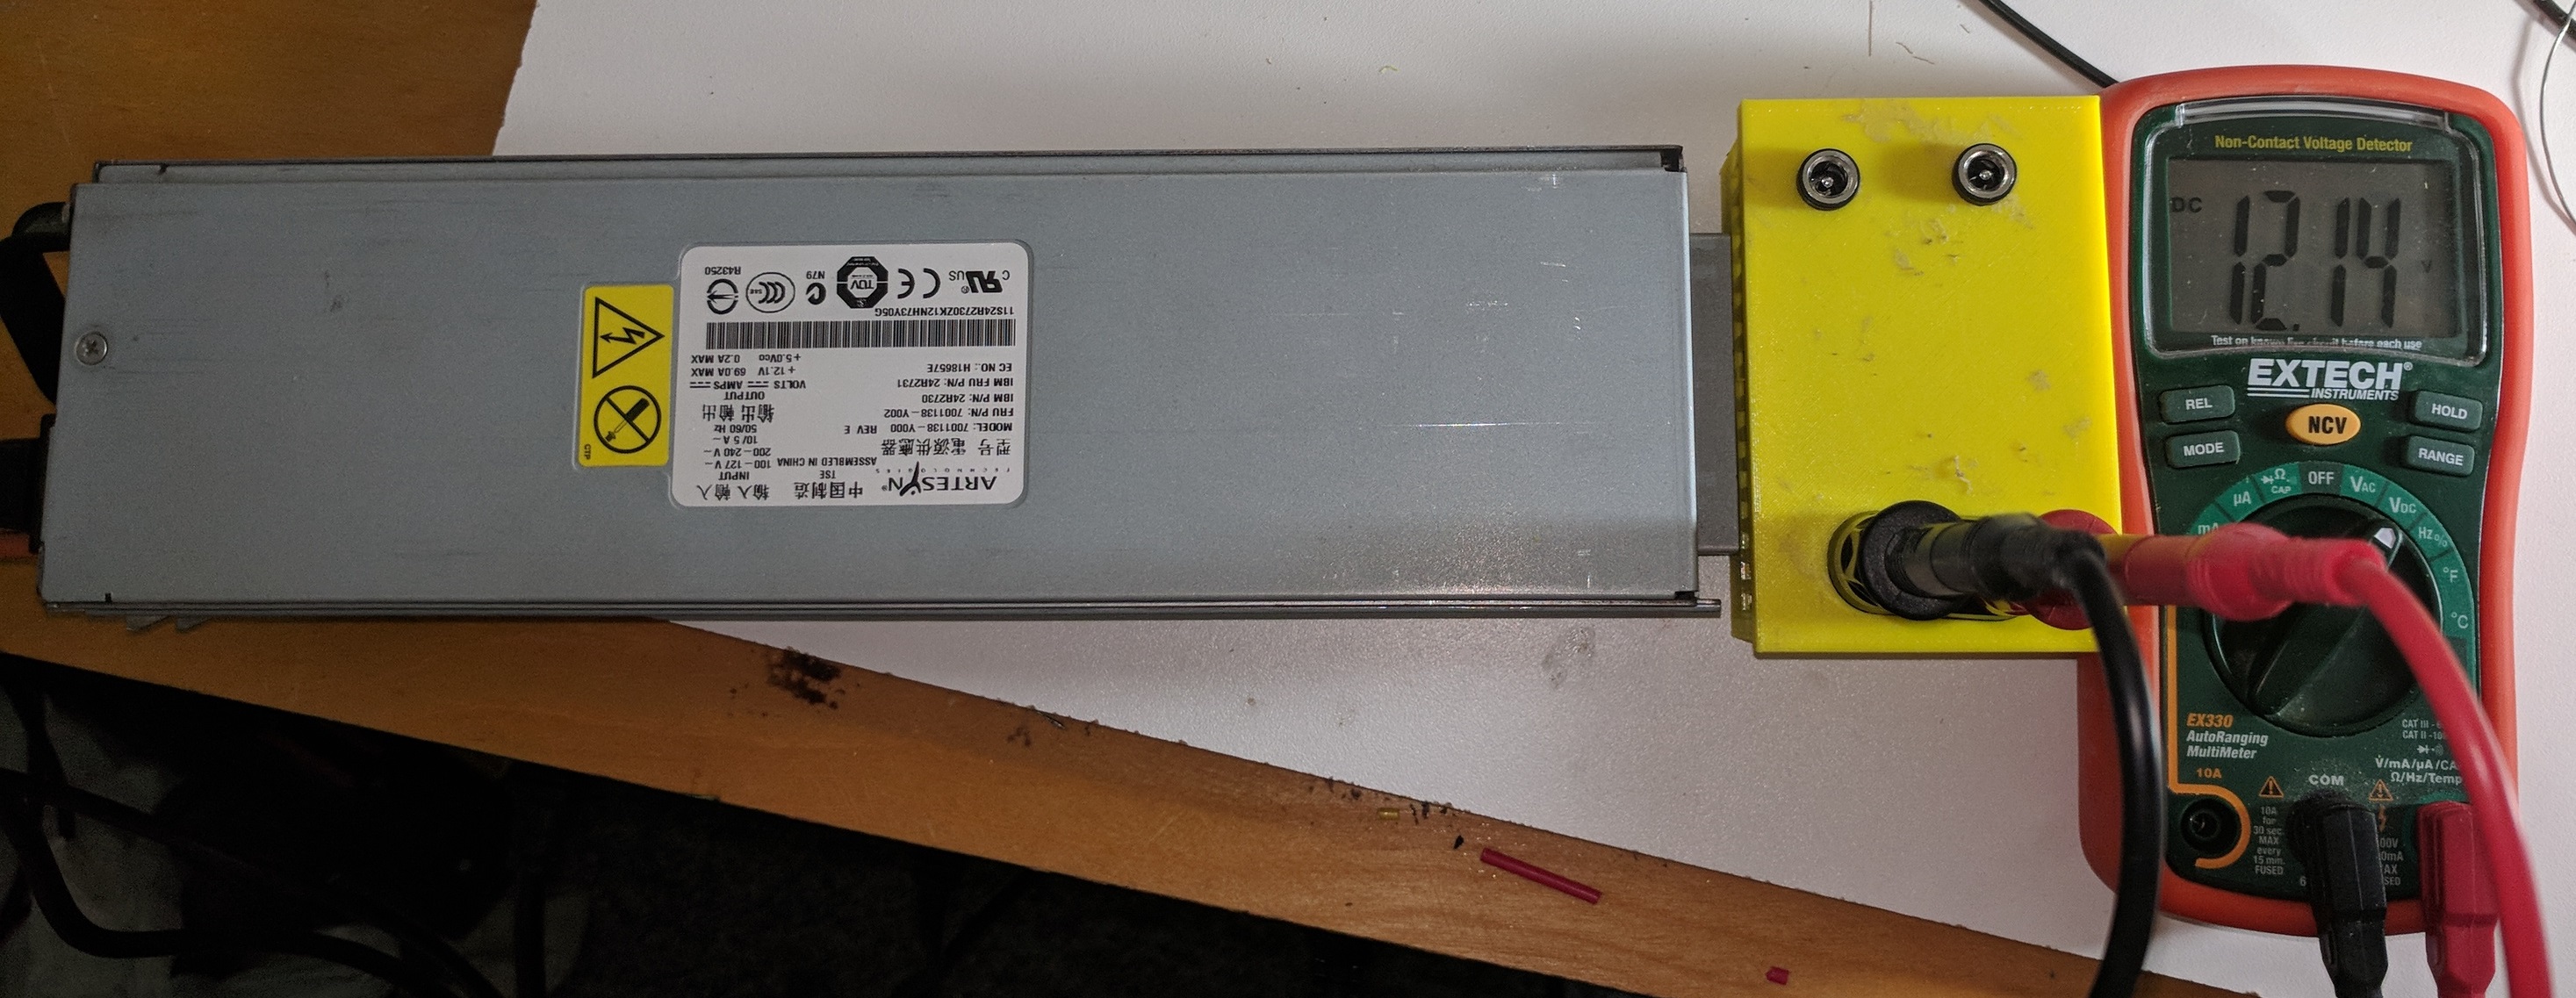
Testing
The board just slides into the power supply. Plug it in, and it turns on!