Tronxy X5SA Pro - Initial Setup
I already have a Monoprice Maker Select 3D printer (a clone of the Wanhao I3) that I’ve been using for almost 5 years. It works well, and I’ve done a ton of upgrades and tuning to it. But my biggest complaints are that even with all the upgrades in the world, it’s still pretty slow if you want decent print quality, and the build area is too small for some of the things I want to build.
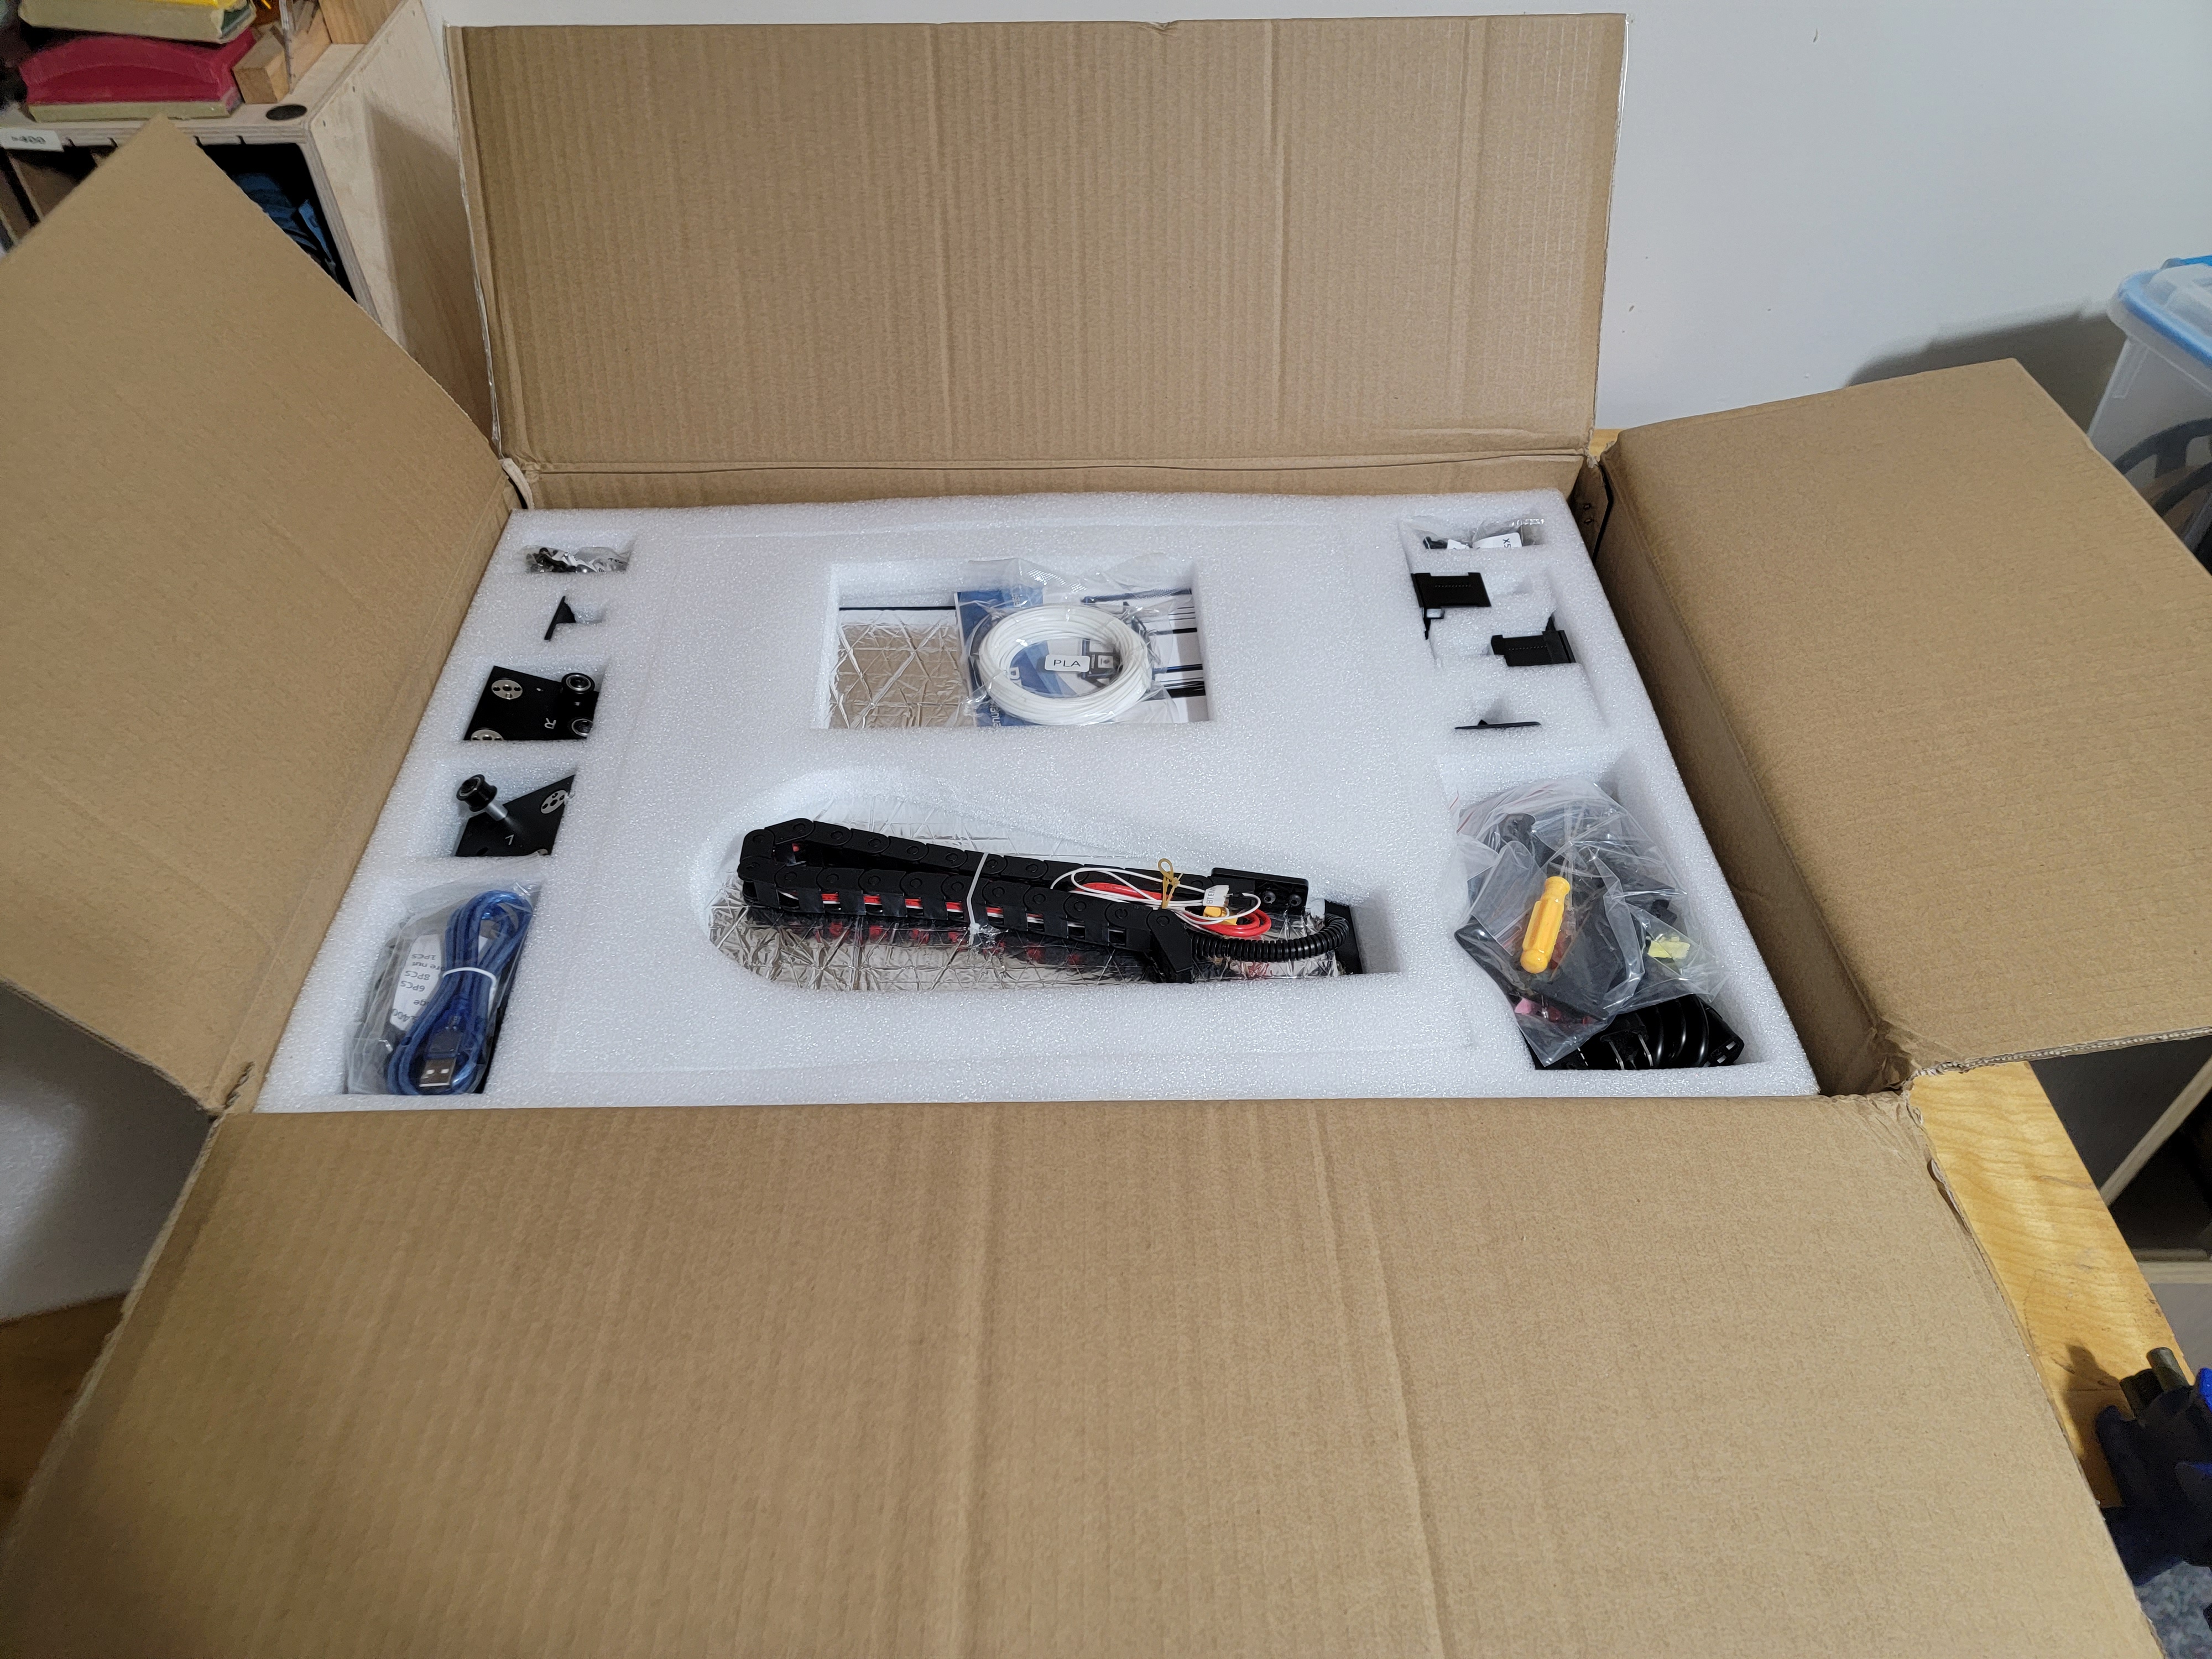
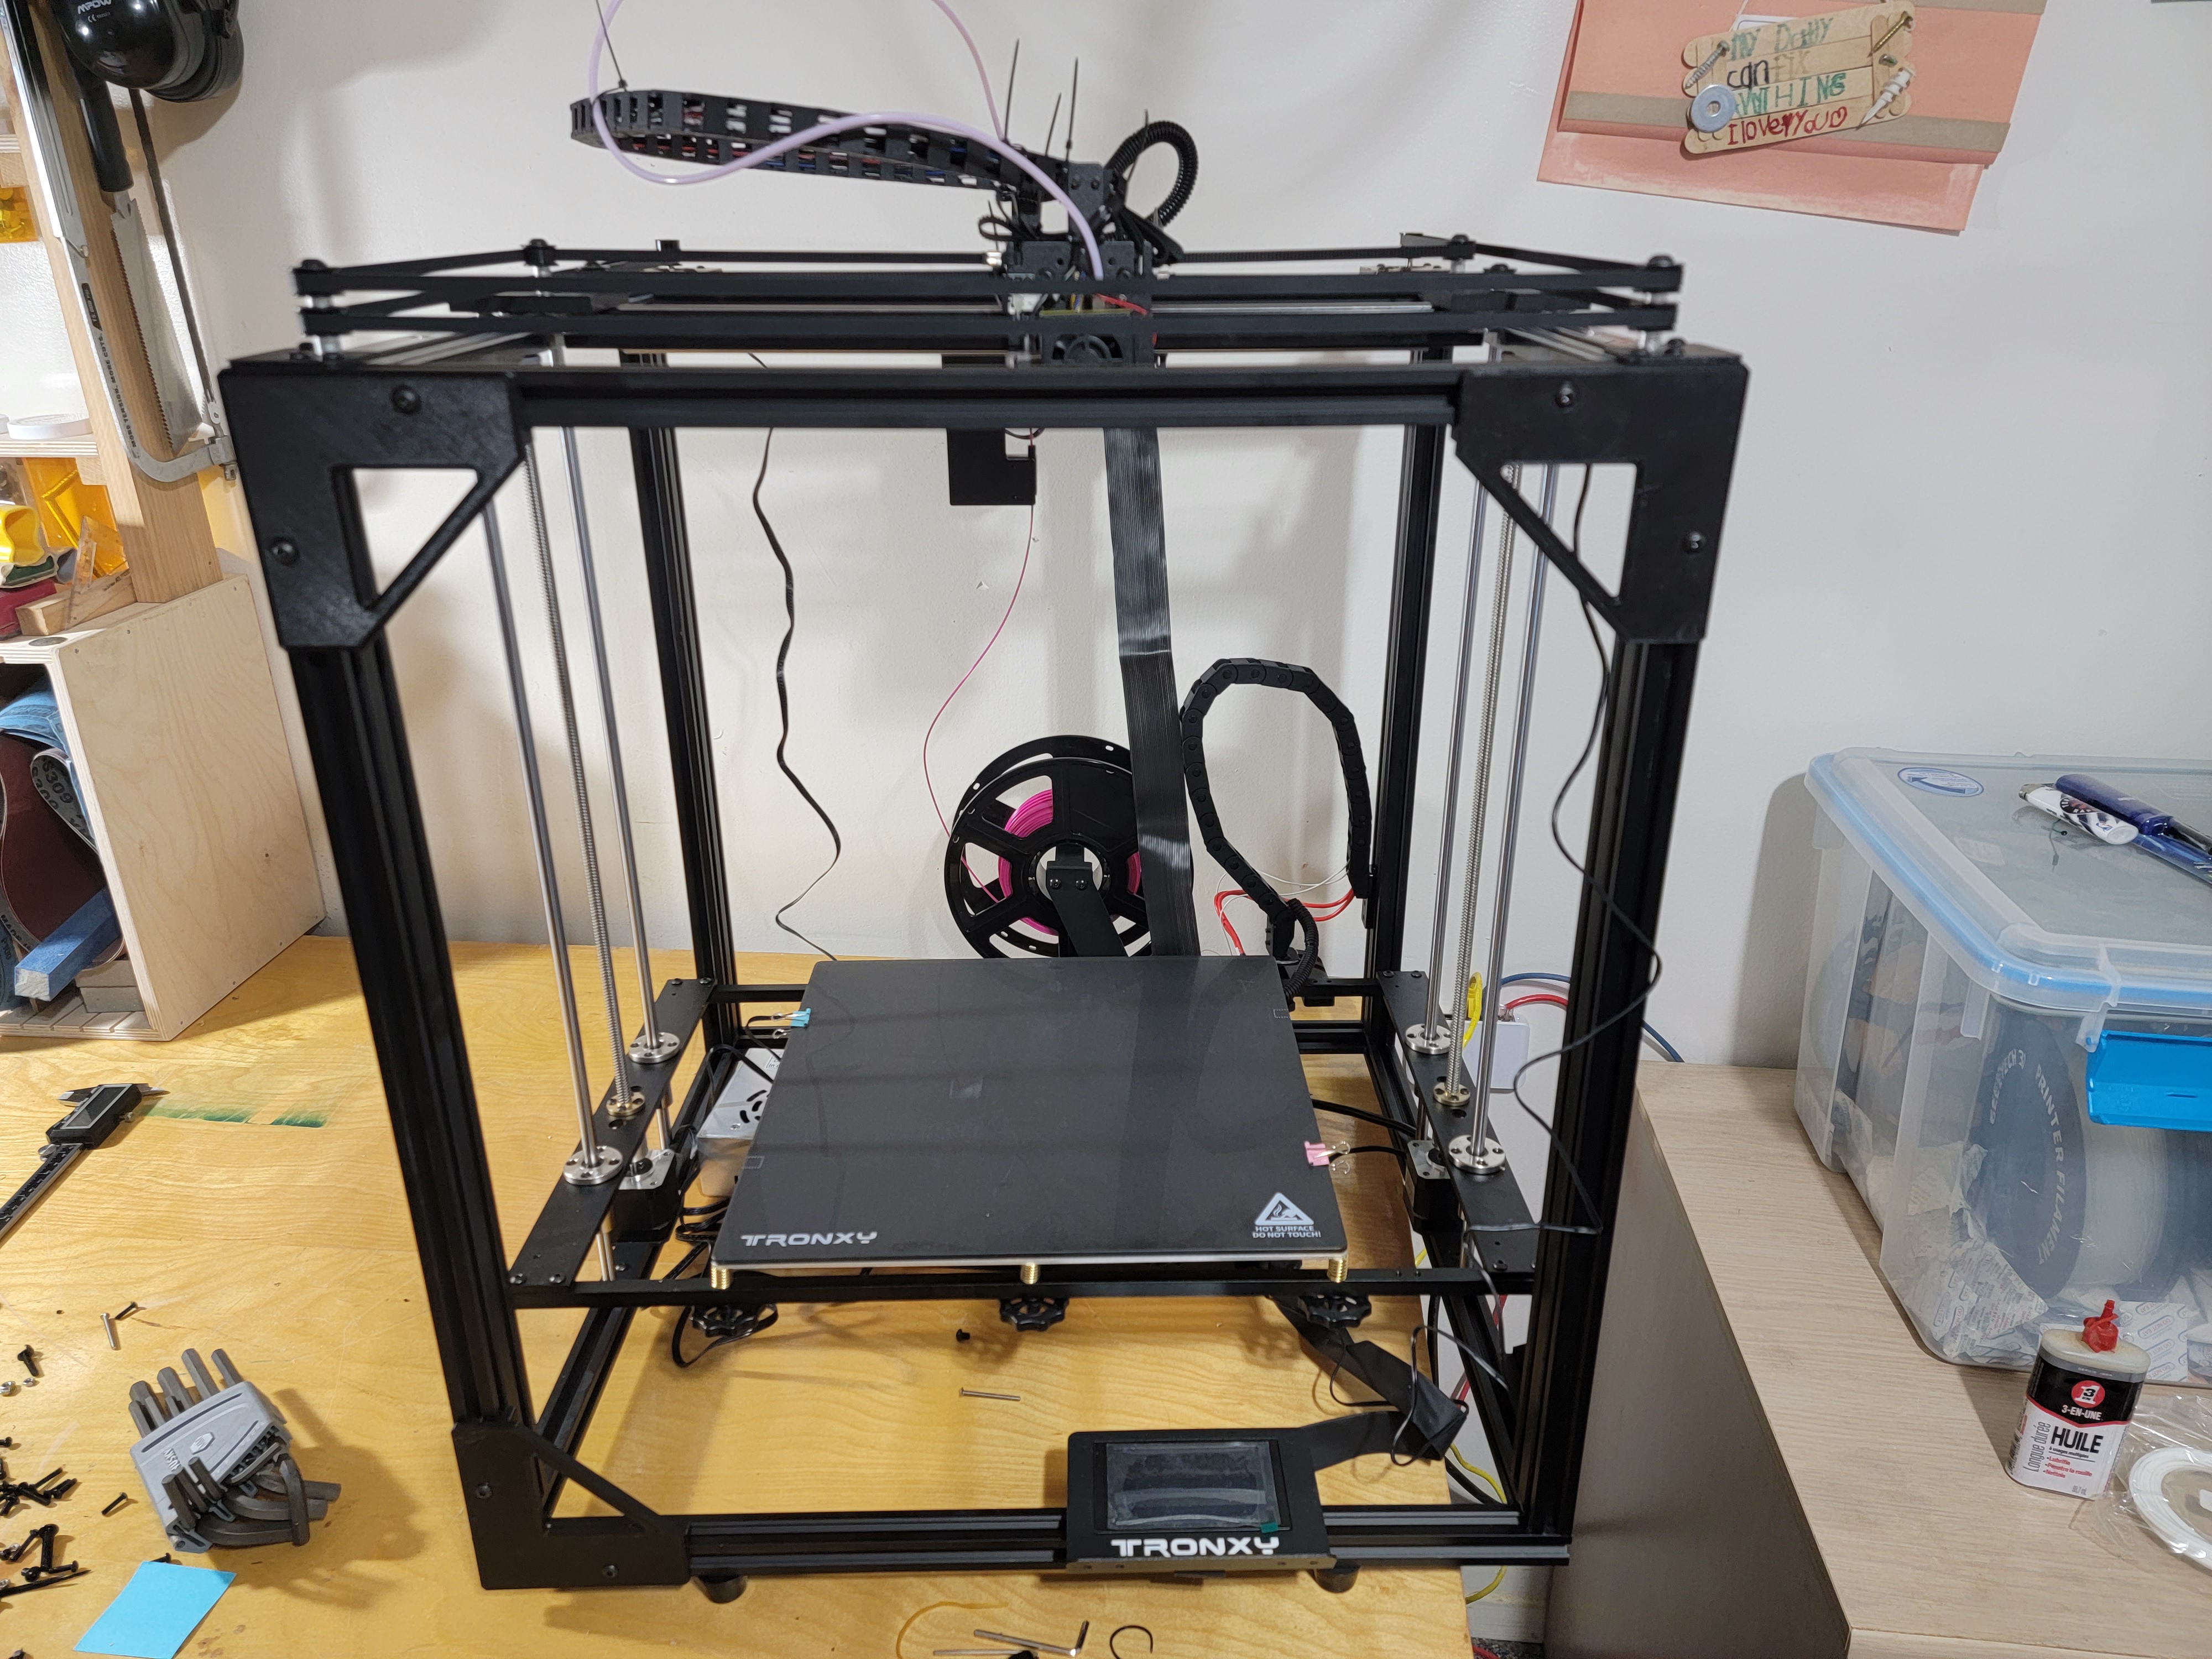
Enter the Tronxy X5SA Pro, which I got for about CAD$570 from Amazon. I read and watched plenty of reviews about it online, and most said the same thing - it’s an alright printer stock, far from the best option, but with some upgrades and modifications it can be a really good printer. It features a 330x330mm build plate, with 400mm height limit, and is a CoreXY motion design which if properly tuned should be able to go faster than the old I3 design.
Building
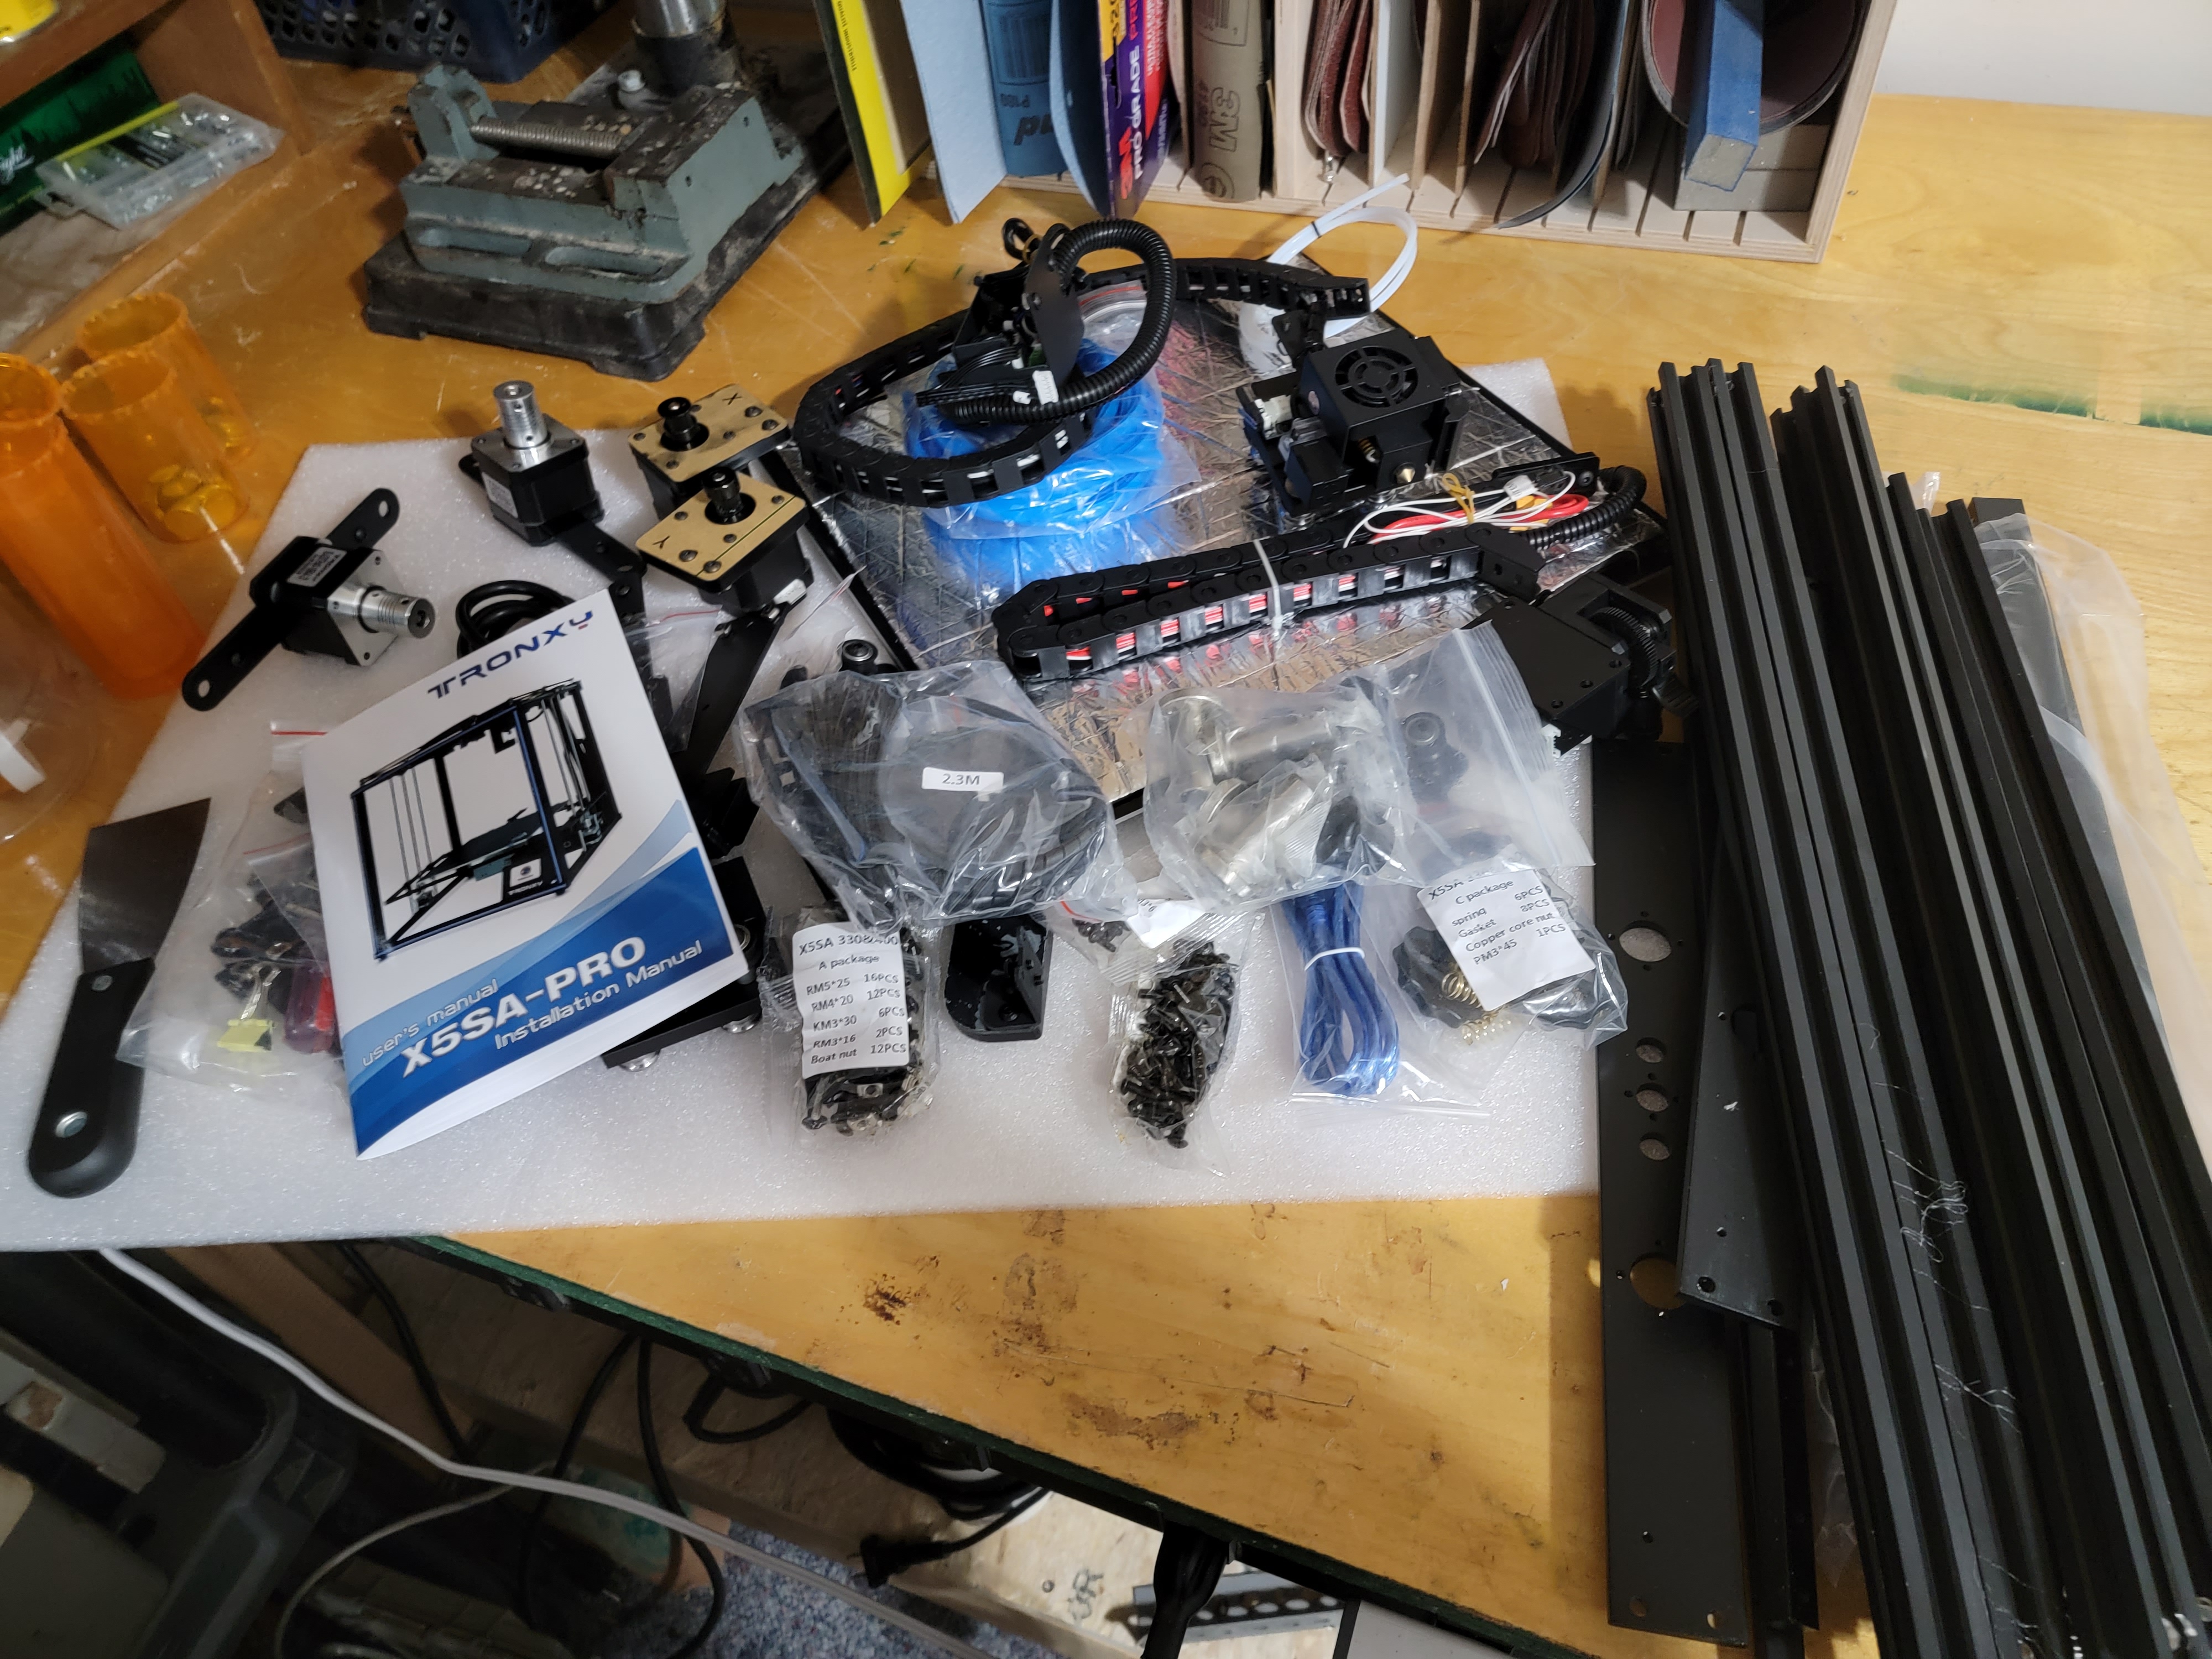
The build process took about 5 hours, but I was taking my time doing it. The manual has quite a few errors in it, places where they list the wrong parts to use, wrong size screws, or just don’t explain the step very well. There’s a few videos online I skimmed through when I was confused, but I managed to muddle my way through it.
A few things that weren’t well explained:
- Some of the belts do go with the teeth facing into the smooth pulleys. Seems like that would wear out the belts faster or damage the teeth, but it seems to work fine so far. Perhaps replacing them with toothed pulleys in the future would be a good idea. I think I have some in my printer parts bin.
- The Y axis endstop plate mounts to the front right, on the inside of the upright 40x20 extrusion. The pictures were very confusing.
- The extruder stepper wiring on mine was VERY short. It wouldn’t reach if things were mounted where they were shown in the manual. But moving the wiring box a little closer made it just reach.
- They give you at lot of extra screws. As in it seems like there’s enough left over to build an entire second machine. Not that I’m complaining, I’m really happy to have extras. It just threw me that there were so many left over.

Stock system information
Some specs of the machine, mostly so I remember them.
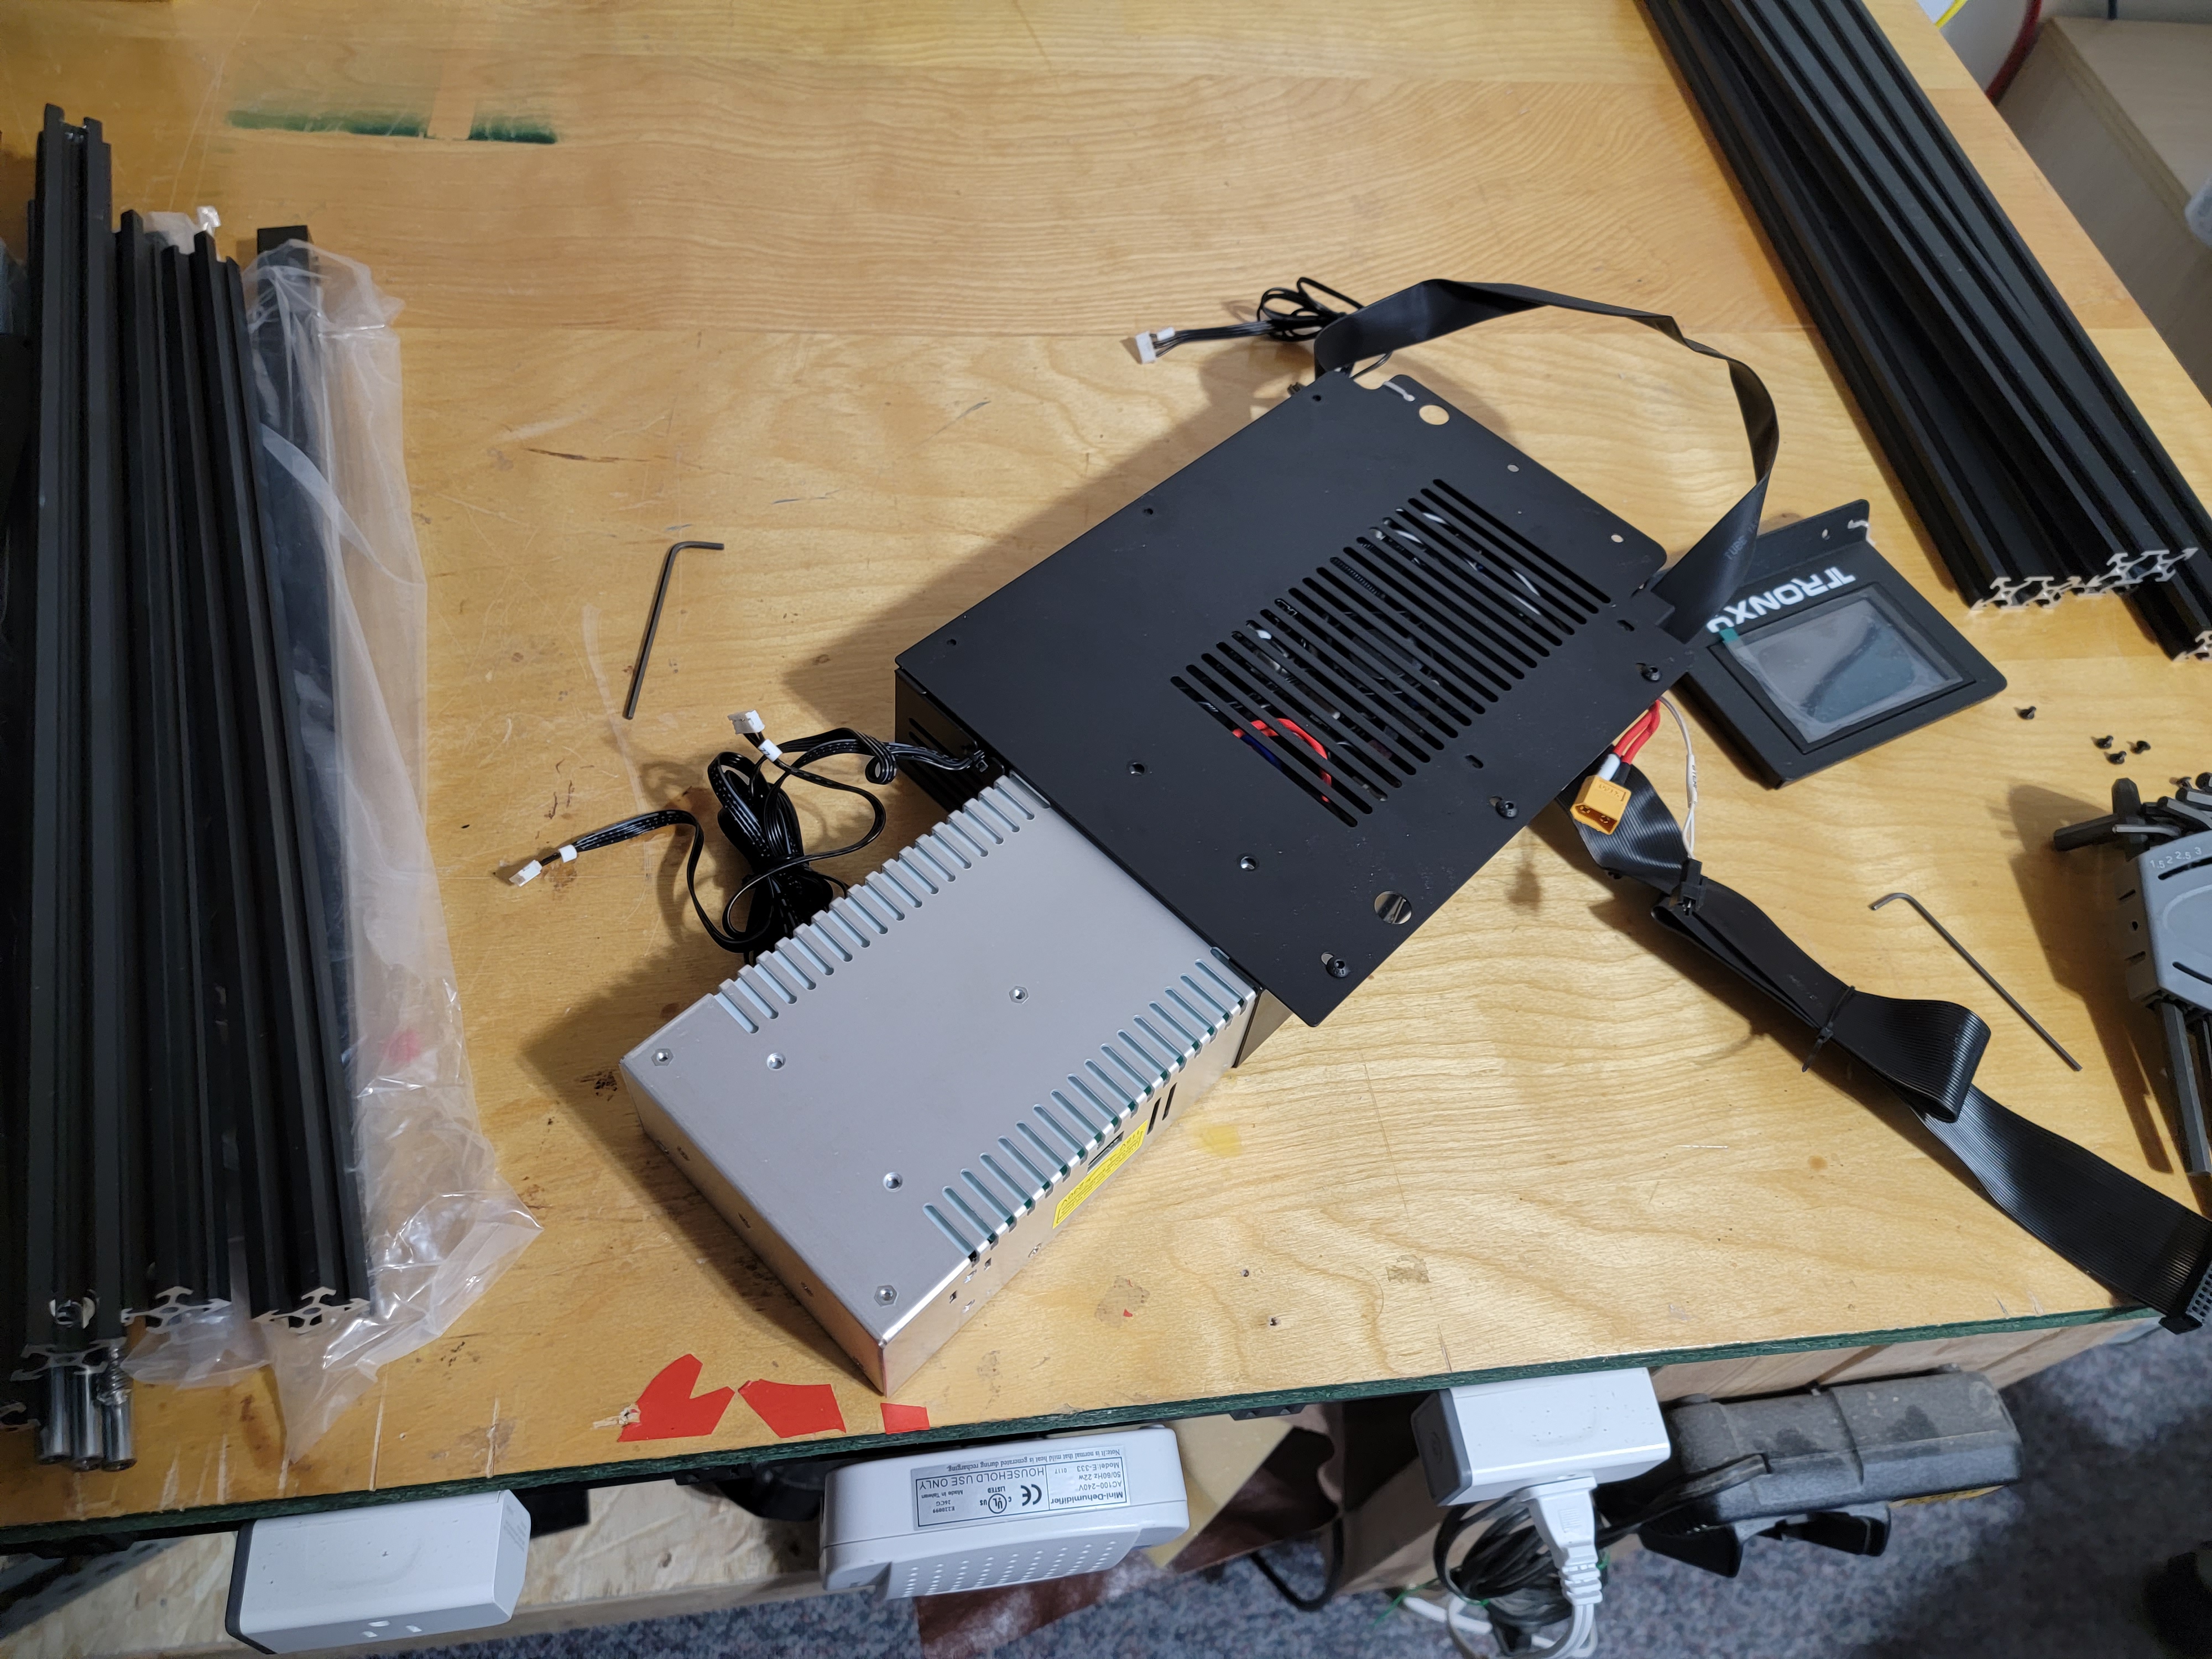
The motherboard is a CXY-V6-191017 with TMC2225 drivers. There is actually room on the board for a 5th driver, but none of the components are soldered in.
The system runs as 24v. Great for reducing current requirements for the heaters, but means I’ll need 24v fans if I replace them.
According to https://angryadmin.sesc.dev/posts/tronxy-marlin/#replace-pl-08n-inductive-promixity-sensor-with-bl-touch, I should be able to backup all the settings using some special gcode commands, but it doesn’t seem to work for me. Nothing gets saved to the SD card. You can however download a gcode file full of settings from TronXY’s website, and decide them with http://www.customize-3d.com/chitu-g-code-explained.html. Here’s what I decoded:
Resume on power lose enabled
Z stepper direction reversed, rest are normal
Speed set to 100mm/s
Z max speed 20mm/s
Extruder max speed 120mm/s
Jerk set to 20
Acceleration 100mm/s^2
X and Y steps per millimeter 0.0127
Z steps per mm 0.00125
Extruder 0.0013085


>>> M503
SENDING:M503
echo:  G21    ; Units in mm (mm)
echo:; Filament settings: Disabled
echo:  M200 S0 D1.75
echo:; Steps per unit:
echo: M92 X160.00 Y160.00 Z800.00 E824.00
echo:; Maximum feedrates (units/s):
echo:  M203 X150.00 Y150.00 Z5.00 E25.00
echo:; Maximum Acceleration (units/s2):
echo:  M201 X1200.00 Y1200.00 Z100.00 E10000.00
echo:; Acceleration (units/s2): P<print_accel> R<retract_accel> T<travel_accel>
echo:  M204 P1200.00 R3000.00 T1200.00
echo:; Advanced: B<min_segment_time_us> S<min_feedrate> T<min_travel_feedrate> X<max_x_jerk> Y<max_y_jerk> Z<max_z_jerk> E<max_e_jerk>
echo:  M205 B20000.00 S0.00 T0.00 X10.00 Y10.00 Z0.30 E5.00
echo:; Home offset:
echo:  M206 X0.00 Y0.00 Z0.00
echo:; Auto Bed Leveling:
echo:  M420 S0 Z0.00
echo:; PID settings:
echo:  M301 P22.20 I1.08 D114.00
; Controller Fan
echo:  M710 S255 I0 A1 D60 ; (100% 0%)
echo:; Power-Loss Recovery:
echo:  M413 S1
echo:; Z-Probe Offset (mm):
echo:  M851 X-38.50 Y-10.00 Z-5.01
echo:; Filament load/unload lengths:
echo:  M603 L0.00 U100.00
echo:; Filament runout sensor:
echo:  M412 S1
Initial thoughts
Pros:
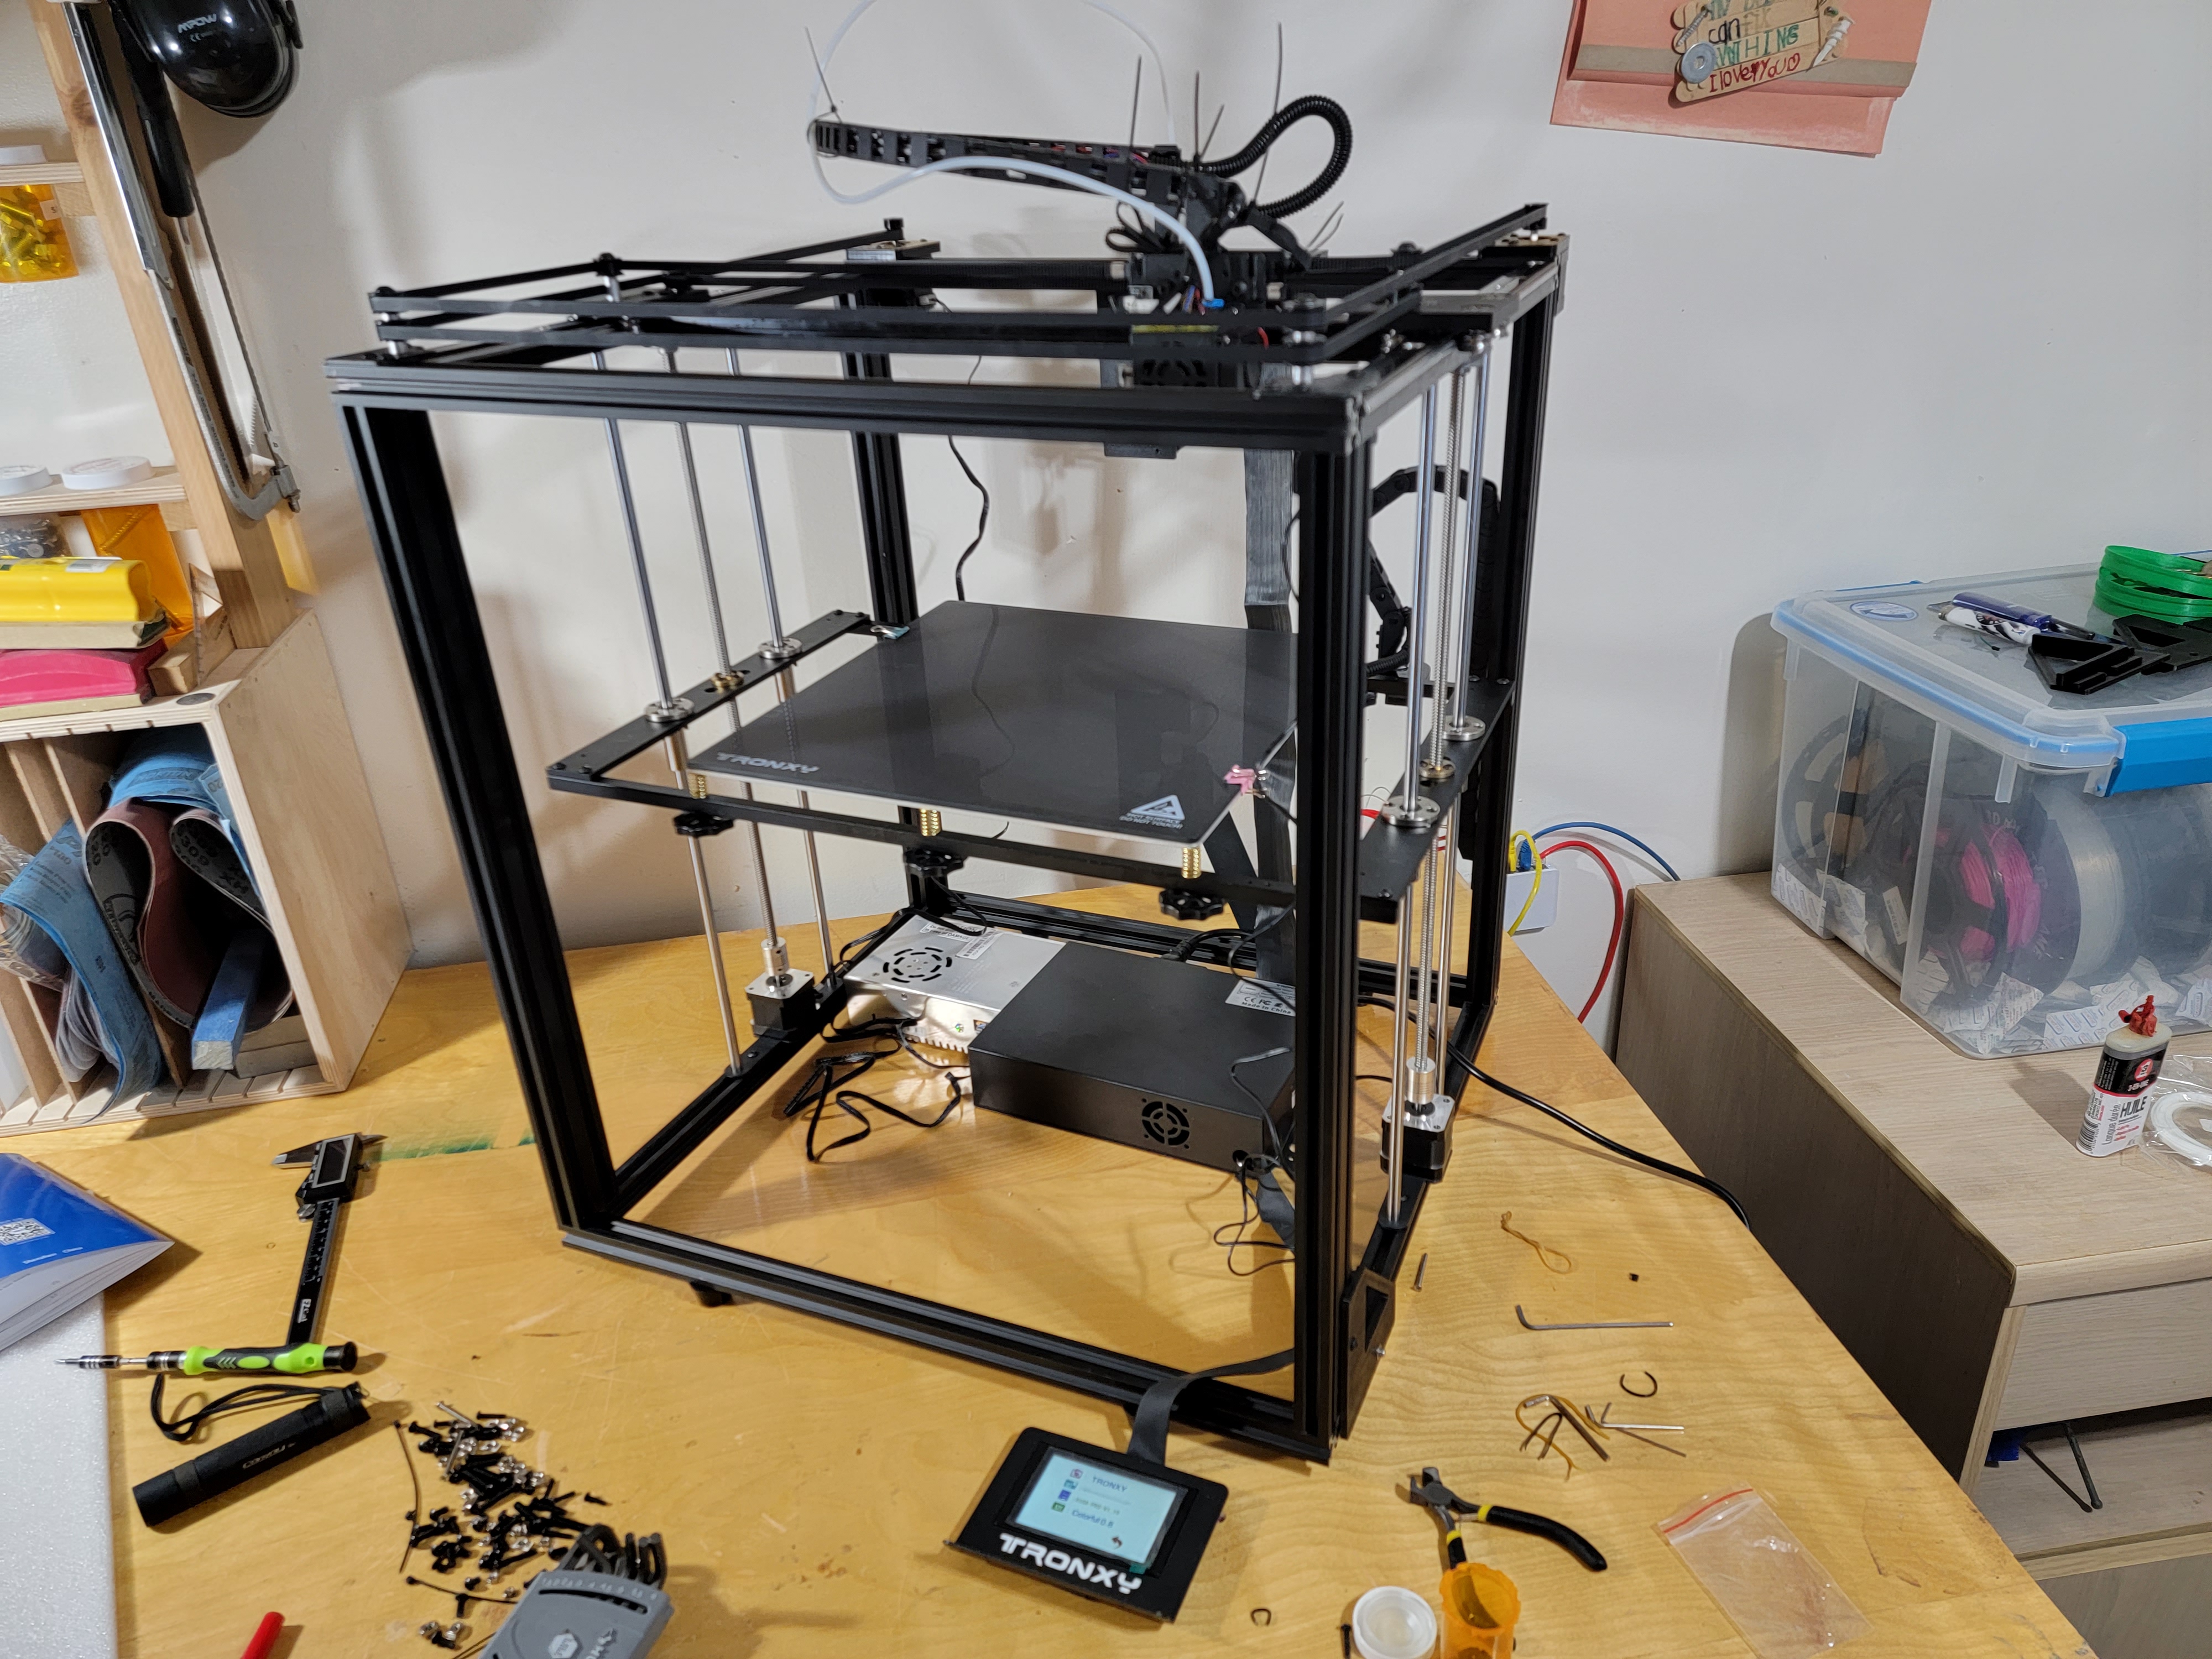
- The build plate is huge compared to my old printer!
- The glass build plate it comes with looks pretty cool, it’s textured to improve grip. Hopefully won’t have to use gluestick with it.
- The induction sensor actually works ok with the included glass plate. I’m not convinced it works as well as a BL touch though, so I’m probably still replacing it. But it works far better than I thought it would!
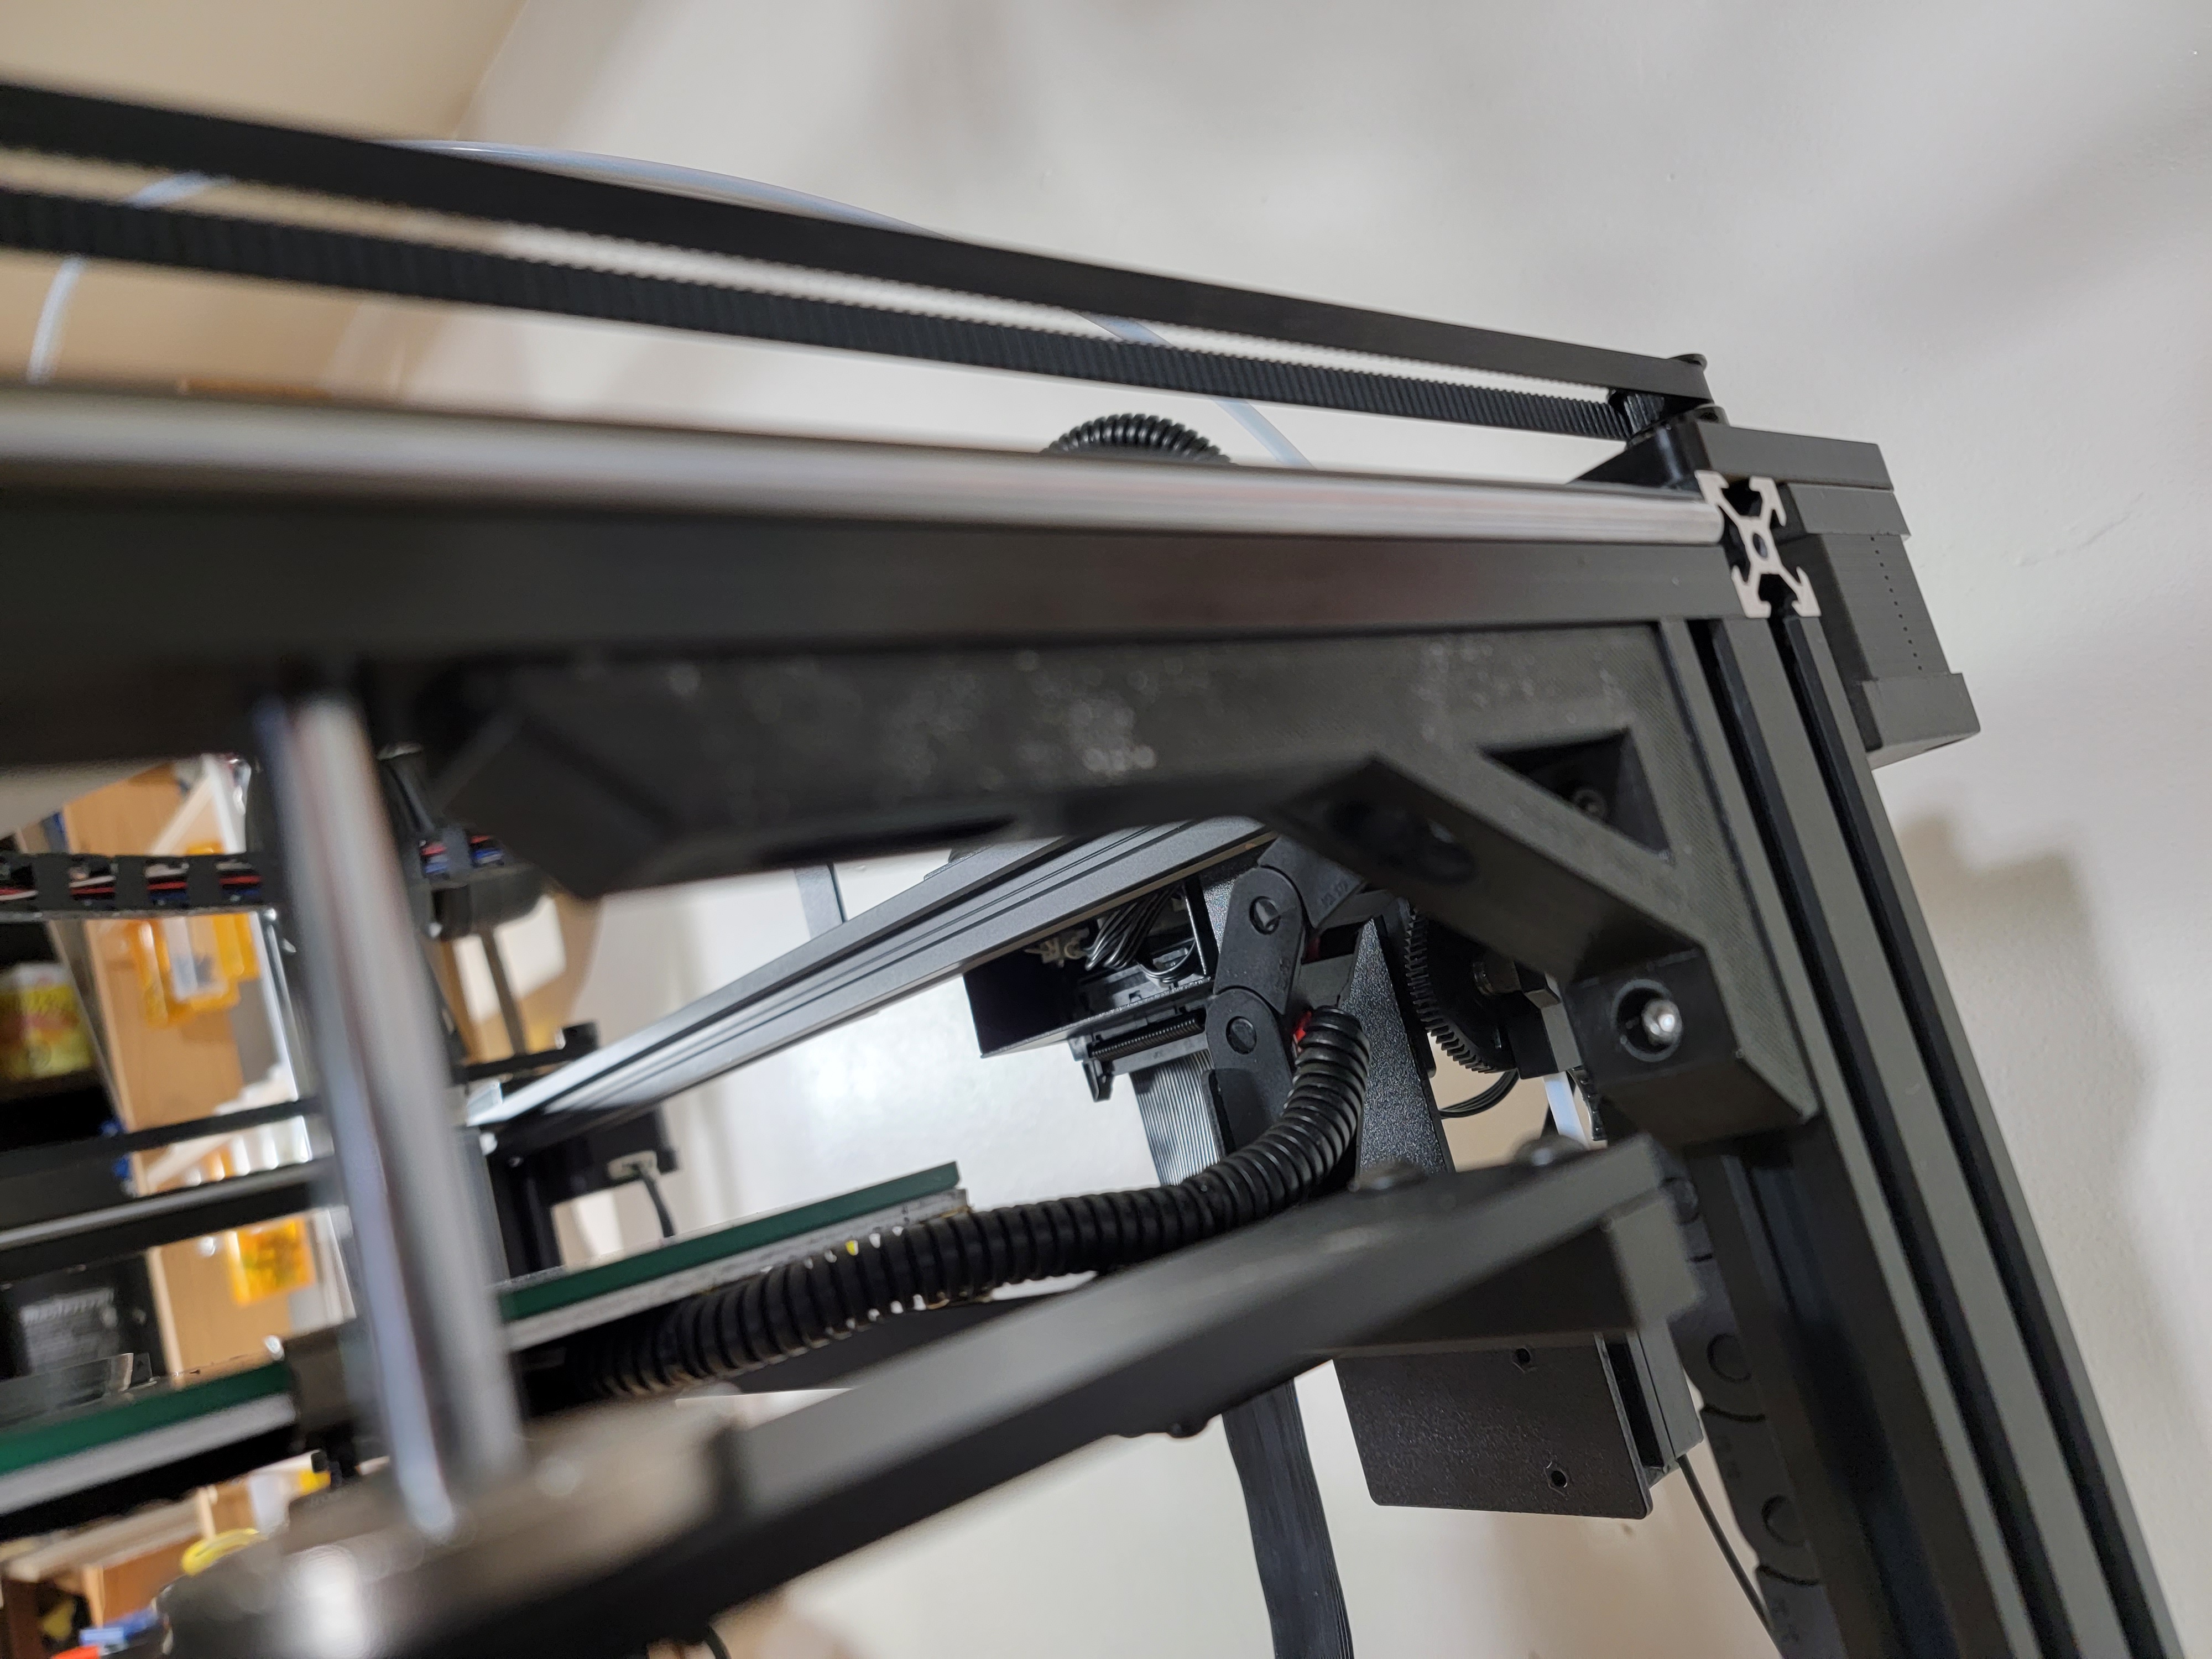
- The Pro version of the X5SA has sort of linear rails instead of V wheels. They are square metal bars with a slot cut into them and smooth rods press fit in. Hopefully that gives it a smoother ride and can move faster. Probably not as good as high quality linear rails, but still a big upgrade from the non pro version.
Neutral:
- I’m ok with it being a bowden setup. Hopefully that means without the weight of the extruder motor on the print carriage I can get this thing flying. And I have my direct drive printer for things where it won’t work well.
- The nuts you use to attach things to aluminum extrusion (not sure what they are called, I’ve seen hammerhead nuts, boat nuts and T nuts used) are magic - when they work. But sometimes they won’t turn and it’s hard to tell if they are fully engaged.
Cons:
- The firmware that comes with the controller is terrible. Just really, really terrible. The way the menus are laid out makes it really hard to see what’s going on with the printer or adjust things. There are very few things you can adjust from it anyways - a lot of the settings you’d need to tune the printer just aren’t there.
- Tightening the belts is a pain.
- Having the extruder and filament at the center of the back is really a pain. I don’t want to have to pull the machine out to get at the filament.
- It’s not as solid as I’d like. You can flex the entire frame by pressing opposite corners. But we can print some parts to stiffen that up.
- It’s very easy for the two Z steppers to get out of sync and the bed to tilt. People have made their own mods to tie them together with a belt, and Tronxy even sells their own kit to do it
Hardware Modifications
Corner Braces
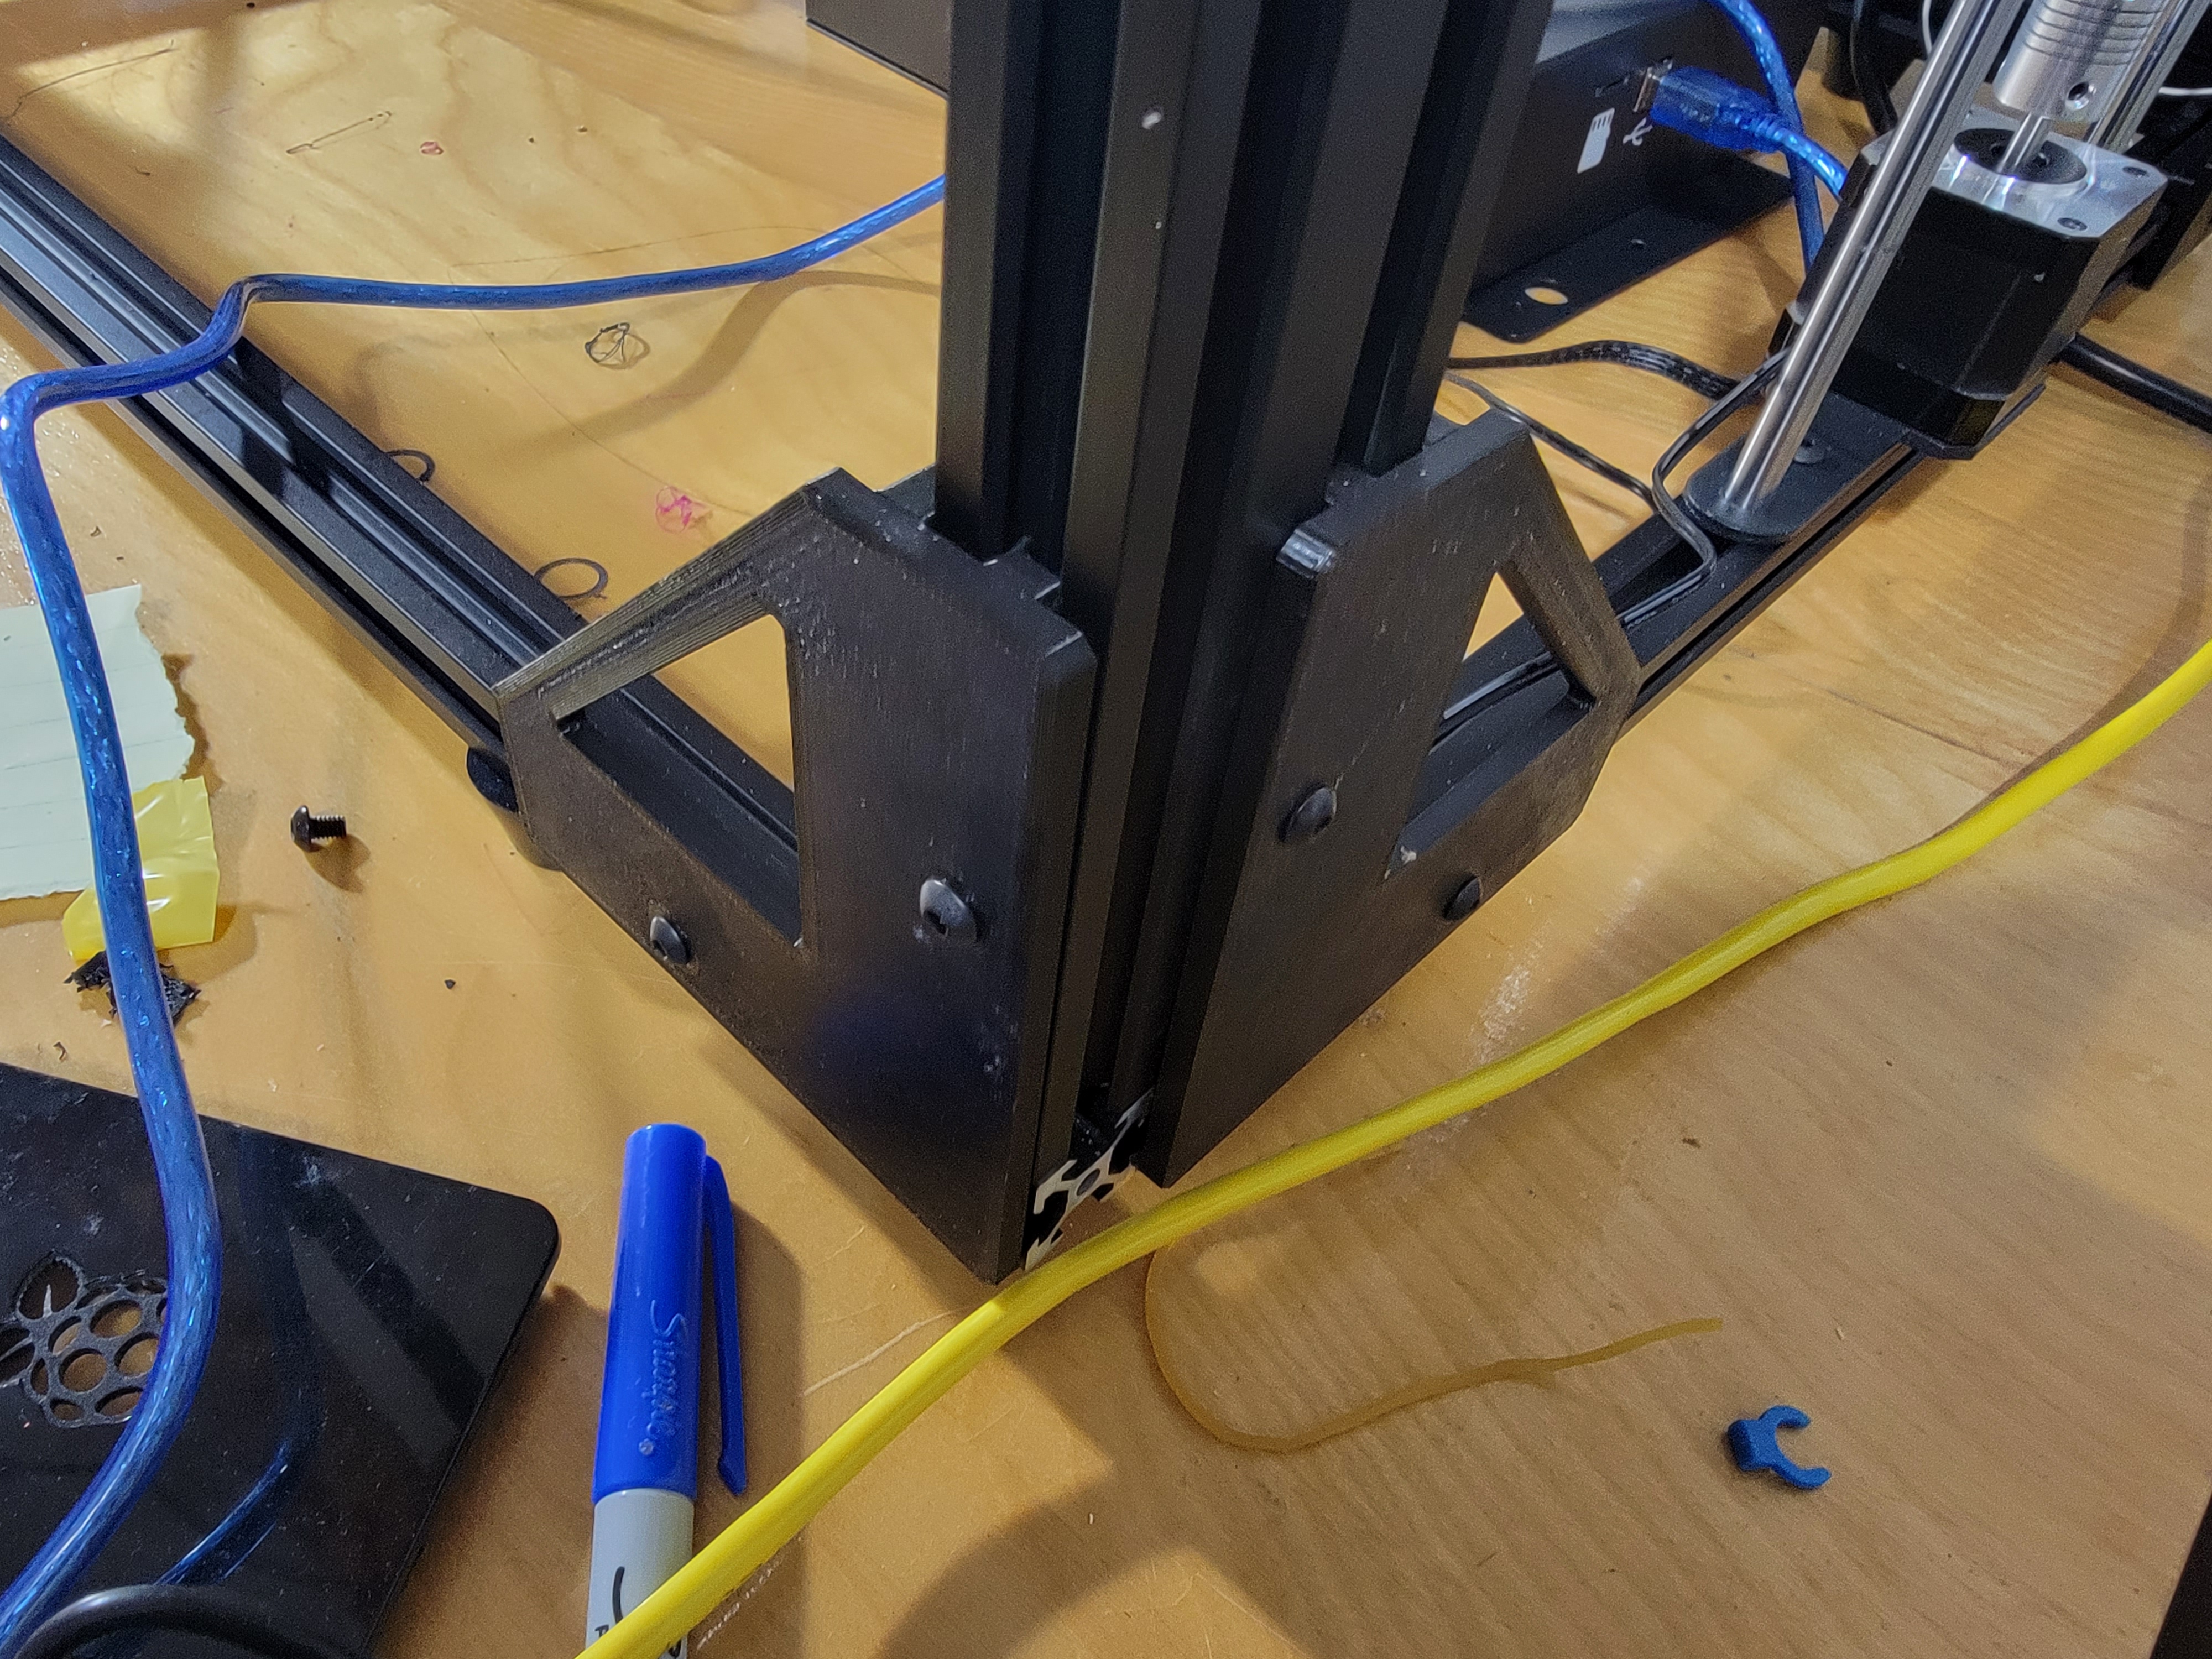
The first modifications I started printing on the old printer - braces for the corners to stiffen the frame. There’s two different braces I used.
The first is Tronxy X5S corner brackets, which go in most of the corners. On the corner where the Y endstop is mounted I cut out a little piece with a chisel so it would fit. I put them in all 4 corners in the front, and 2 in each side at the bottom.
Those don’t work for the sides at the top, because the pro version has rails there instead of aluminum extrusion. For that I used Tronxy X5SA Pro Top Corner Bracket. This mounts in the extrusion at the sides, and an extra hole in the rails. I assume those holes are there because some models have the smooth rods for the Z axis spread out more and they just manufactured one kind of rail for everything? In any case, they fit perfectly. I used some M3 bolts and hammerhead nuts to attach them. I really have to get a supply of M4 and M5 bolts now since that’s what fits most of the things on this printer.
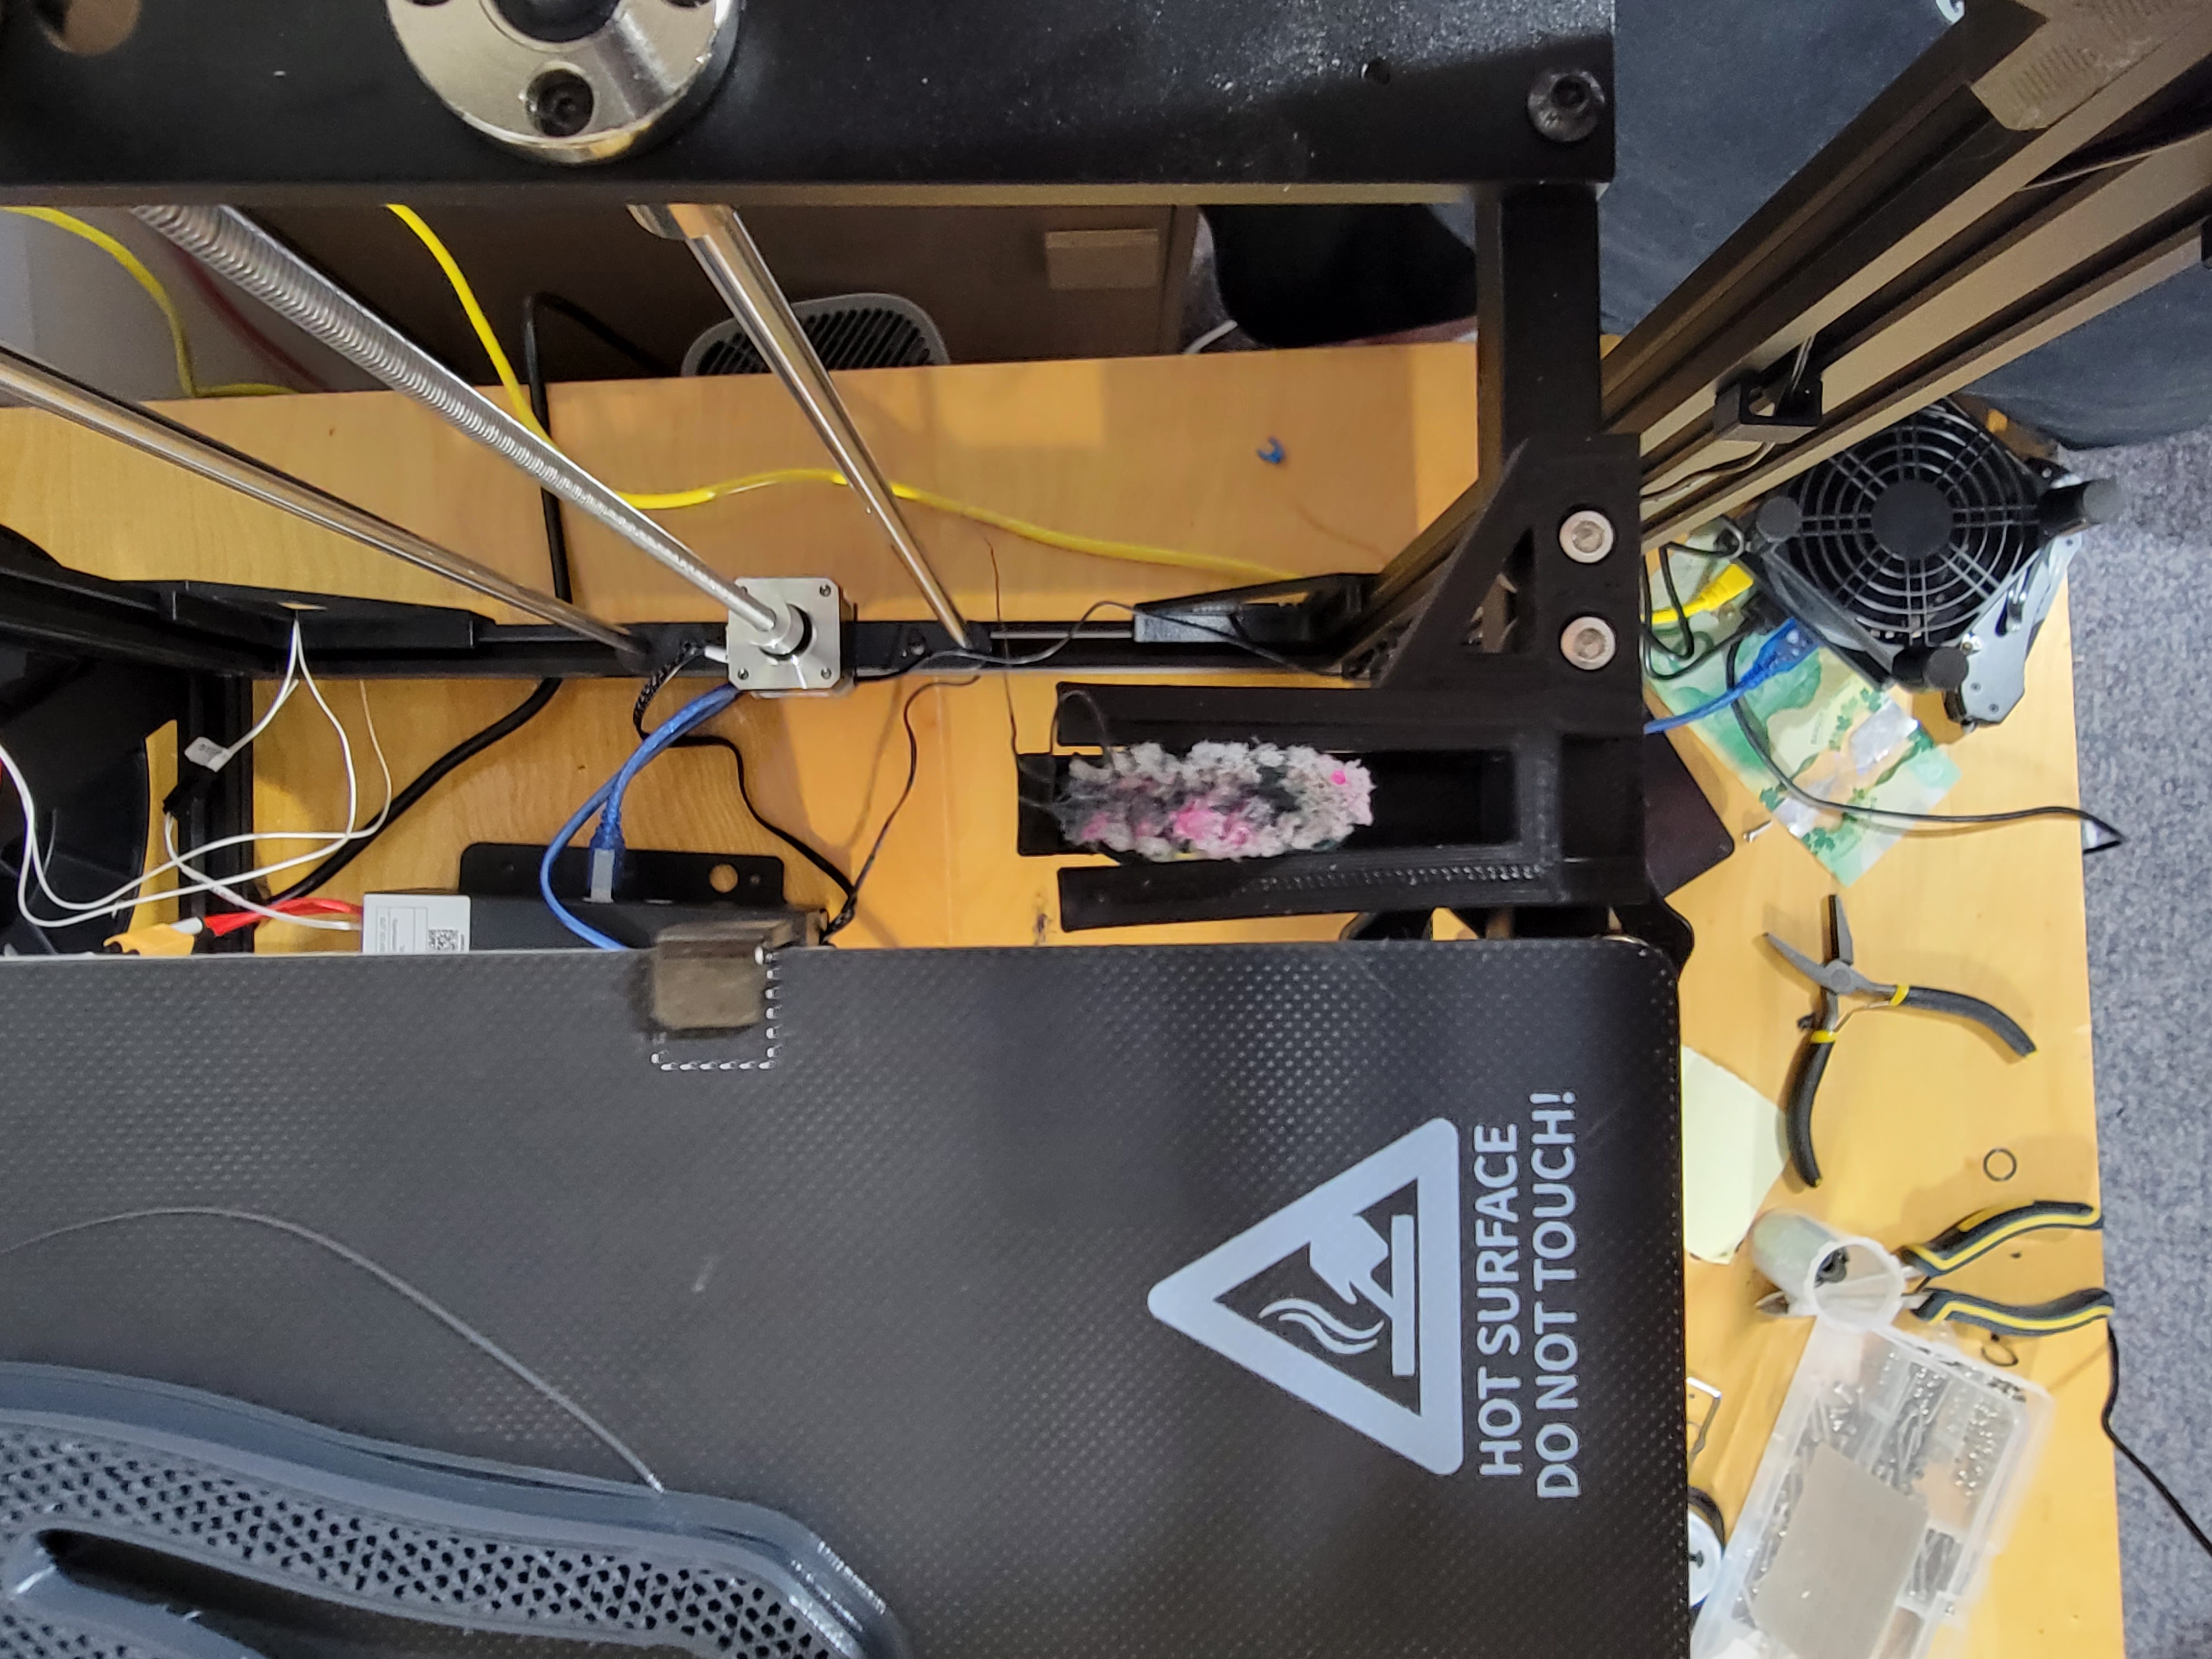
Toothbrush Nozzle Cleaner
Filament tends to leak out of extruders while they heat up, and this one leaks a lot. I don’t want to have to manually remove it before the print starts. Thankfully the X5SA can move a bit outside of it’s print area, probably so that the probe can reach the edge of the bed. raabi91 on thingiverse designed this brush holder for nozzle cleaning which screws to some of the extra holes on the rails of the printbed and lets you attach a brush there for nozzle wiping. I had to put a couple washers under it to raise it ot the right height, and I didn’t have the exact wire brush they used, so I cut the handle off a toothbrush and shoved that in there. Probably not going to last as long as a metal wire brush, but it does the job for now.
To make use of it, I use this start gcode:
G90 ; use absolute coordinates
M83 ; extruder relative mode
M104 S{first_layer_temperature[0] - 50} ; set extruder temp for auto bed leveling
M140 S[first_layer_bed_temperature] ; set bed temp
M190 S[first_layer_bed_temperature] ; wait bed temp
G28 ; home all

; nozzle cleaning
G0 Z10 ; make sure we're well above print bed
G0 X340
G0 Y80 ; move past the end of the brush to heat up
M109 S[first_layer_temperature] ; wait for extruder temp
G0 Z2 ; raise printbed to reach brush
G1 E10 F1500 ; extrude 10mm filament
G92 E0 ; reset filament position
G0 Y30 ; run extruder over brush
G0 Y70
G0 Y30
G0 Y70
G0 Z15 ; lower printbed
G0 X165 Y165 ; return to center before starting
Future Modifications
I’ve already bought some parts to upgrade it…probably too many parts. Some upgrades I intend to do are:
- Replace the firmware with Klipper. I’ve always used Marlin and Octoprint in the past, but I hear lots of great things about Klipper, especially when it comes to printing faster. So I’m going to give that a try.
- Replace the entire motherboard with a BigTreeTech SKR Pro 1.2 board. It probably won’t be any faster than the current board, but the main reason for upgrading to that specific board is it’s support for 6 stepper motors. That will let me run the two Z steppers independently so it can level itself. Bought it on Amazon for $65, along with 6 TMC2209 stepper drivers for $46.
- Upgrade to a touch probe. The induction sensor works pretty well, but I still don’t feel like it’s as accurate as a touch sensor. Figured I’d try one of the clone 3D touch sensors this time since it was only $28 vs the $65 for an official one. If it works well great, if it works but not well enough, I might swap it for the official one in the other printer.
- Dual extrusion! I love making multicolor parts, but switching filaments is a pain. I opted for a $43 2 in 1 out hotend that I hope will fit with minimal modifications. Of course with that I’ll need another extruder, and the cheapest one I could find was this $19 titan extruder clone. At least it will match the other extruder that’s already on the printer. I already have a spare stepper motor to run it with.
I’ll do writeups of some of those modifications later.