MPCNC Machine - Part 2
So I’ve had my MPCNC for awhile now, and made quite a few modifications and improvements to it.
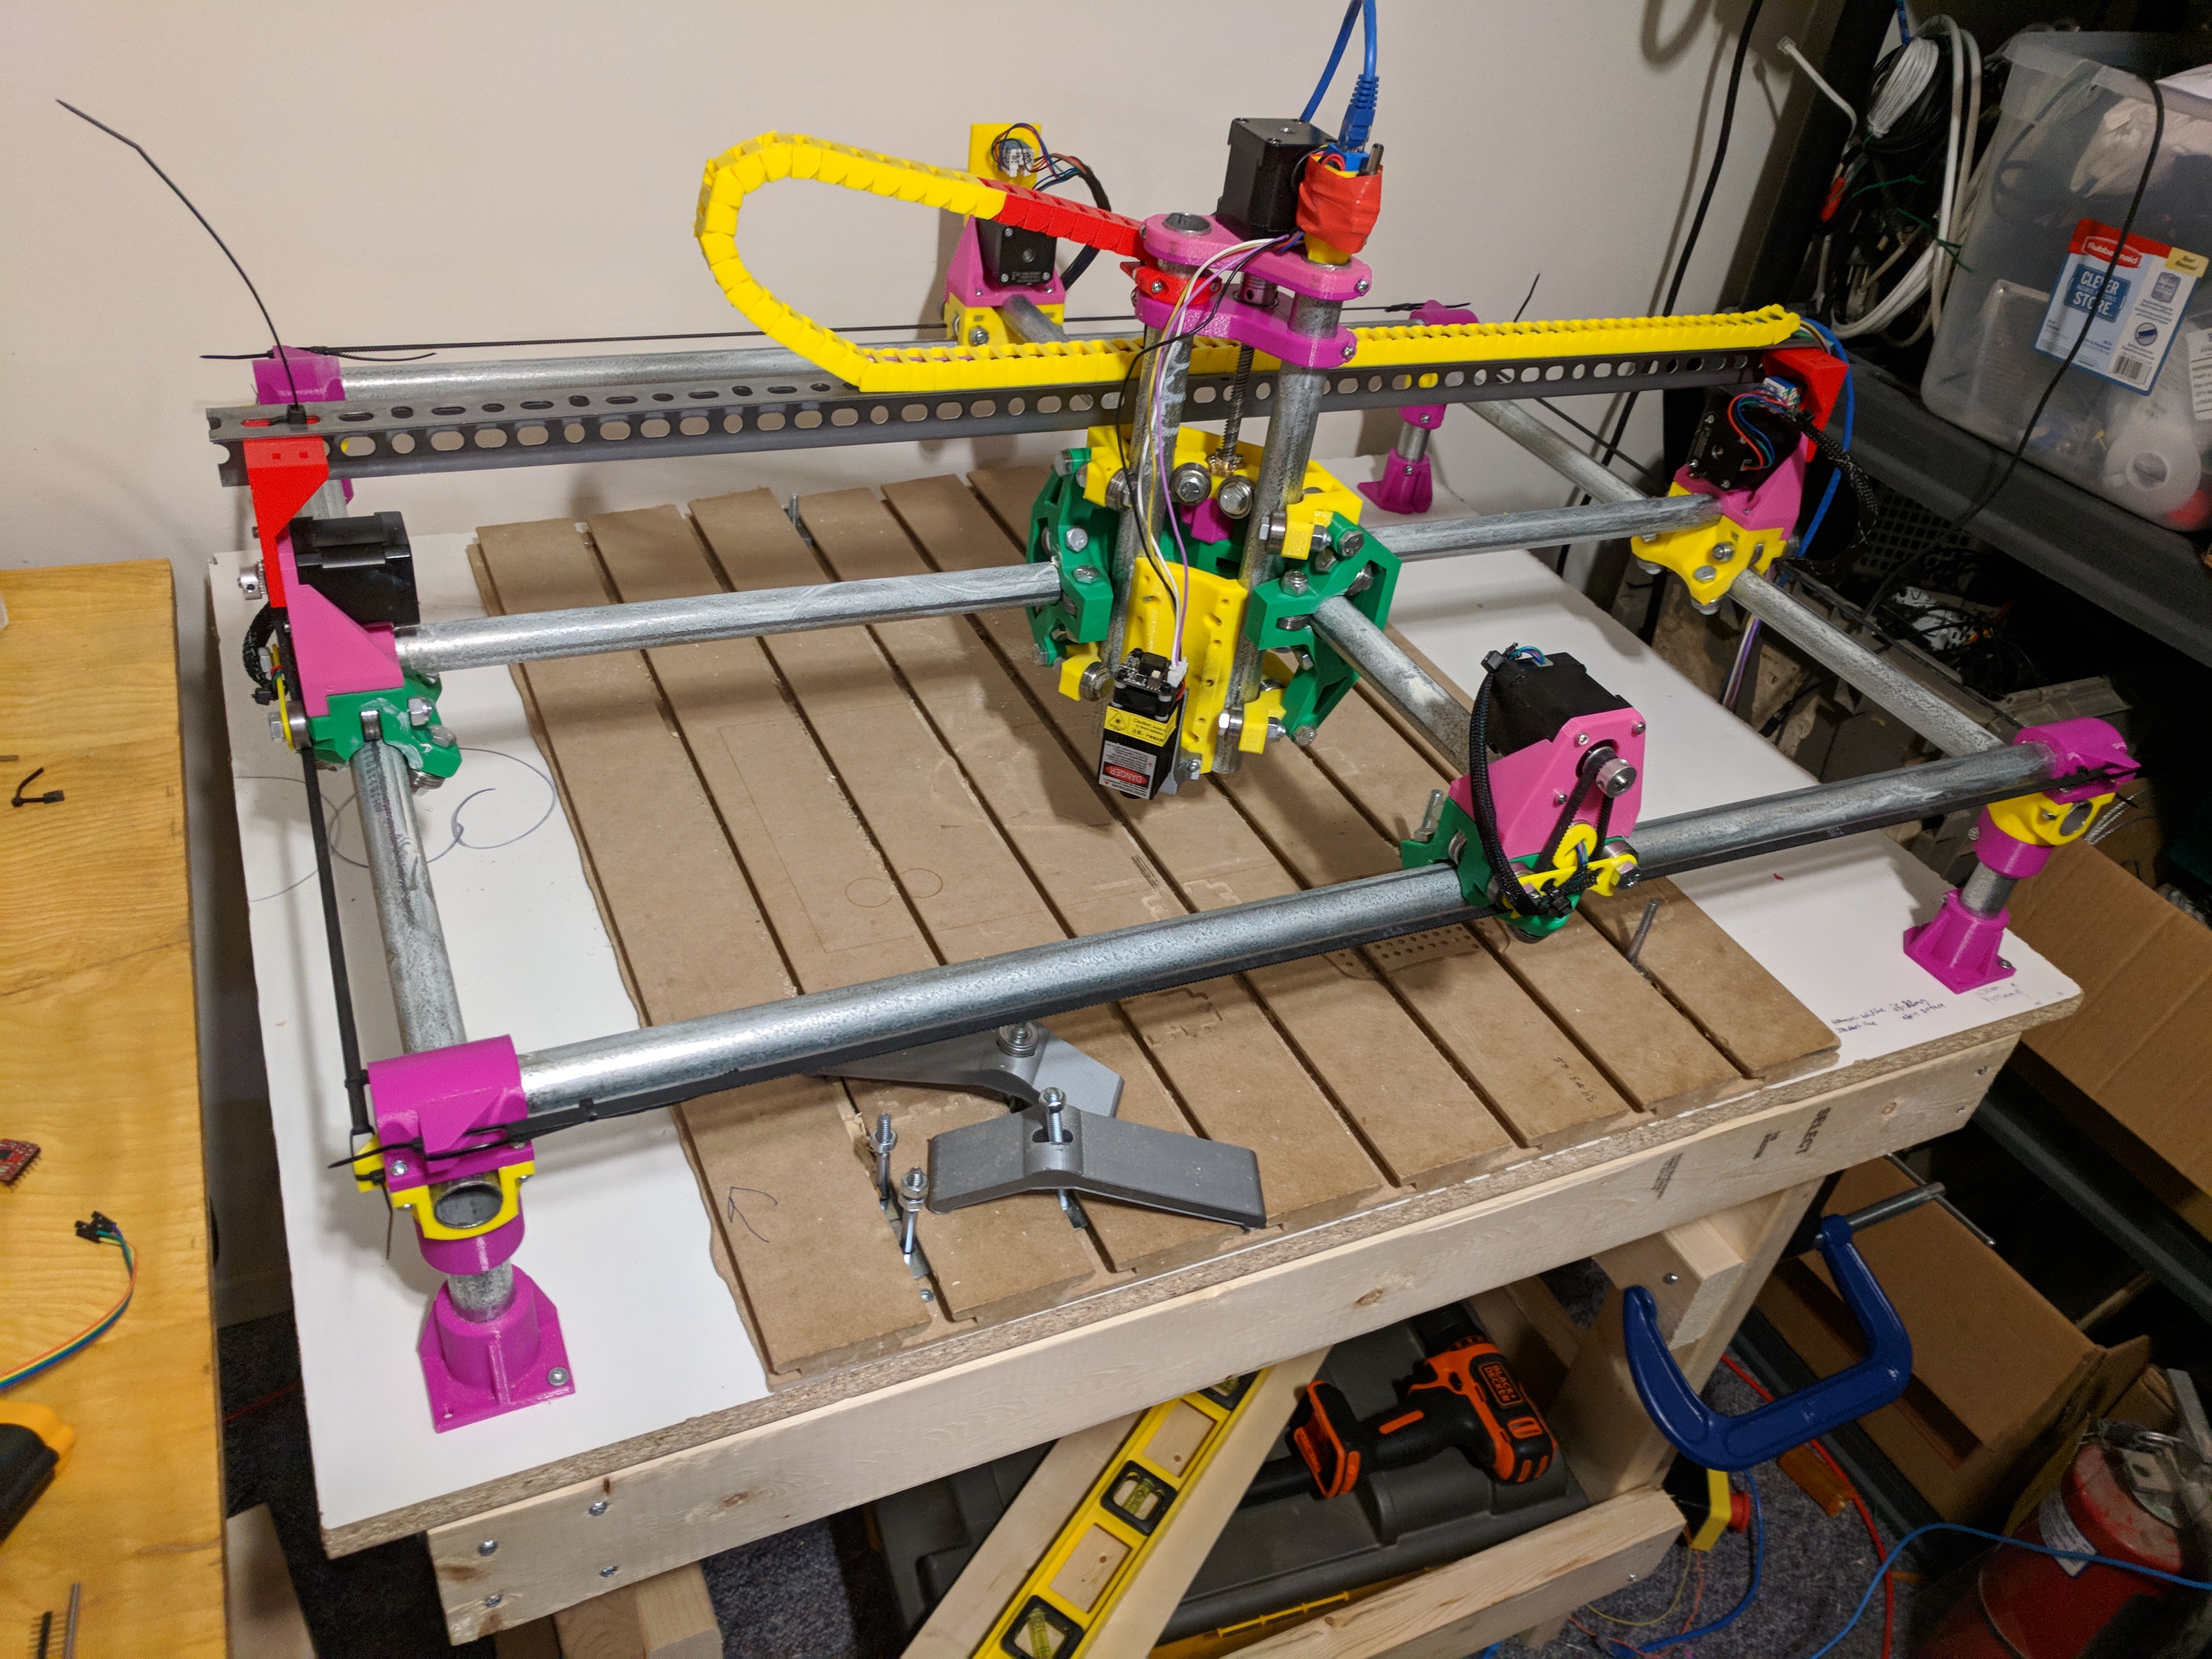
Table for the Machine
It was taking up too much room on my workbench, so I built a table it can sit on right beside the machine. Nothing fancy, just some 2x4s screwed together in a vaguely table like shape and the machine screwed to the top of it.
One thing I made sure was that the table is the same height as my workbench, so I can rest longer pieces of wood right across the workbench as well.
IOT Relay
I bought this relay power bar to control the cut out tool and vacuum. This lets me leave the cut out tool switched on, and it starts and stops automatically when a job is run.

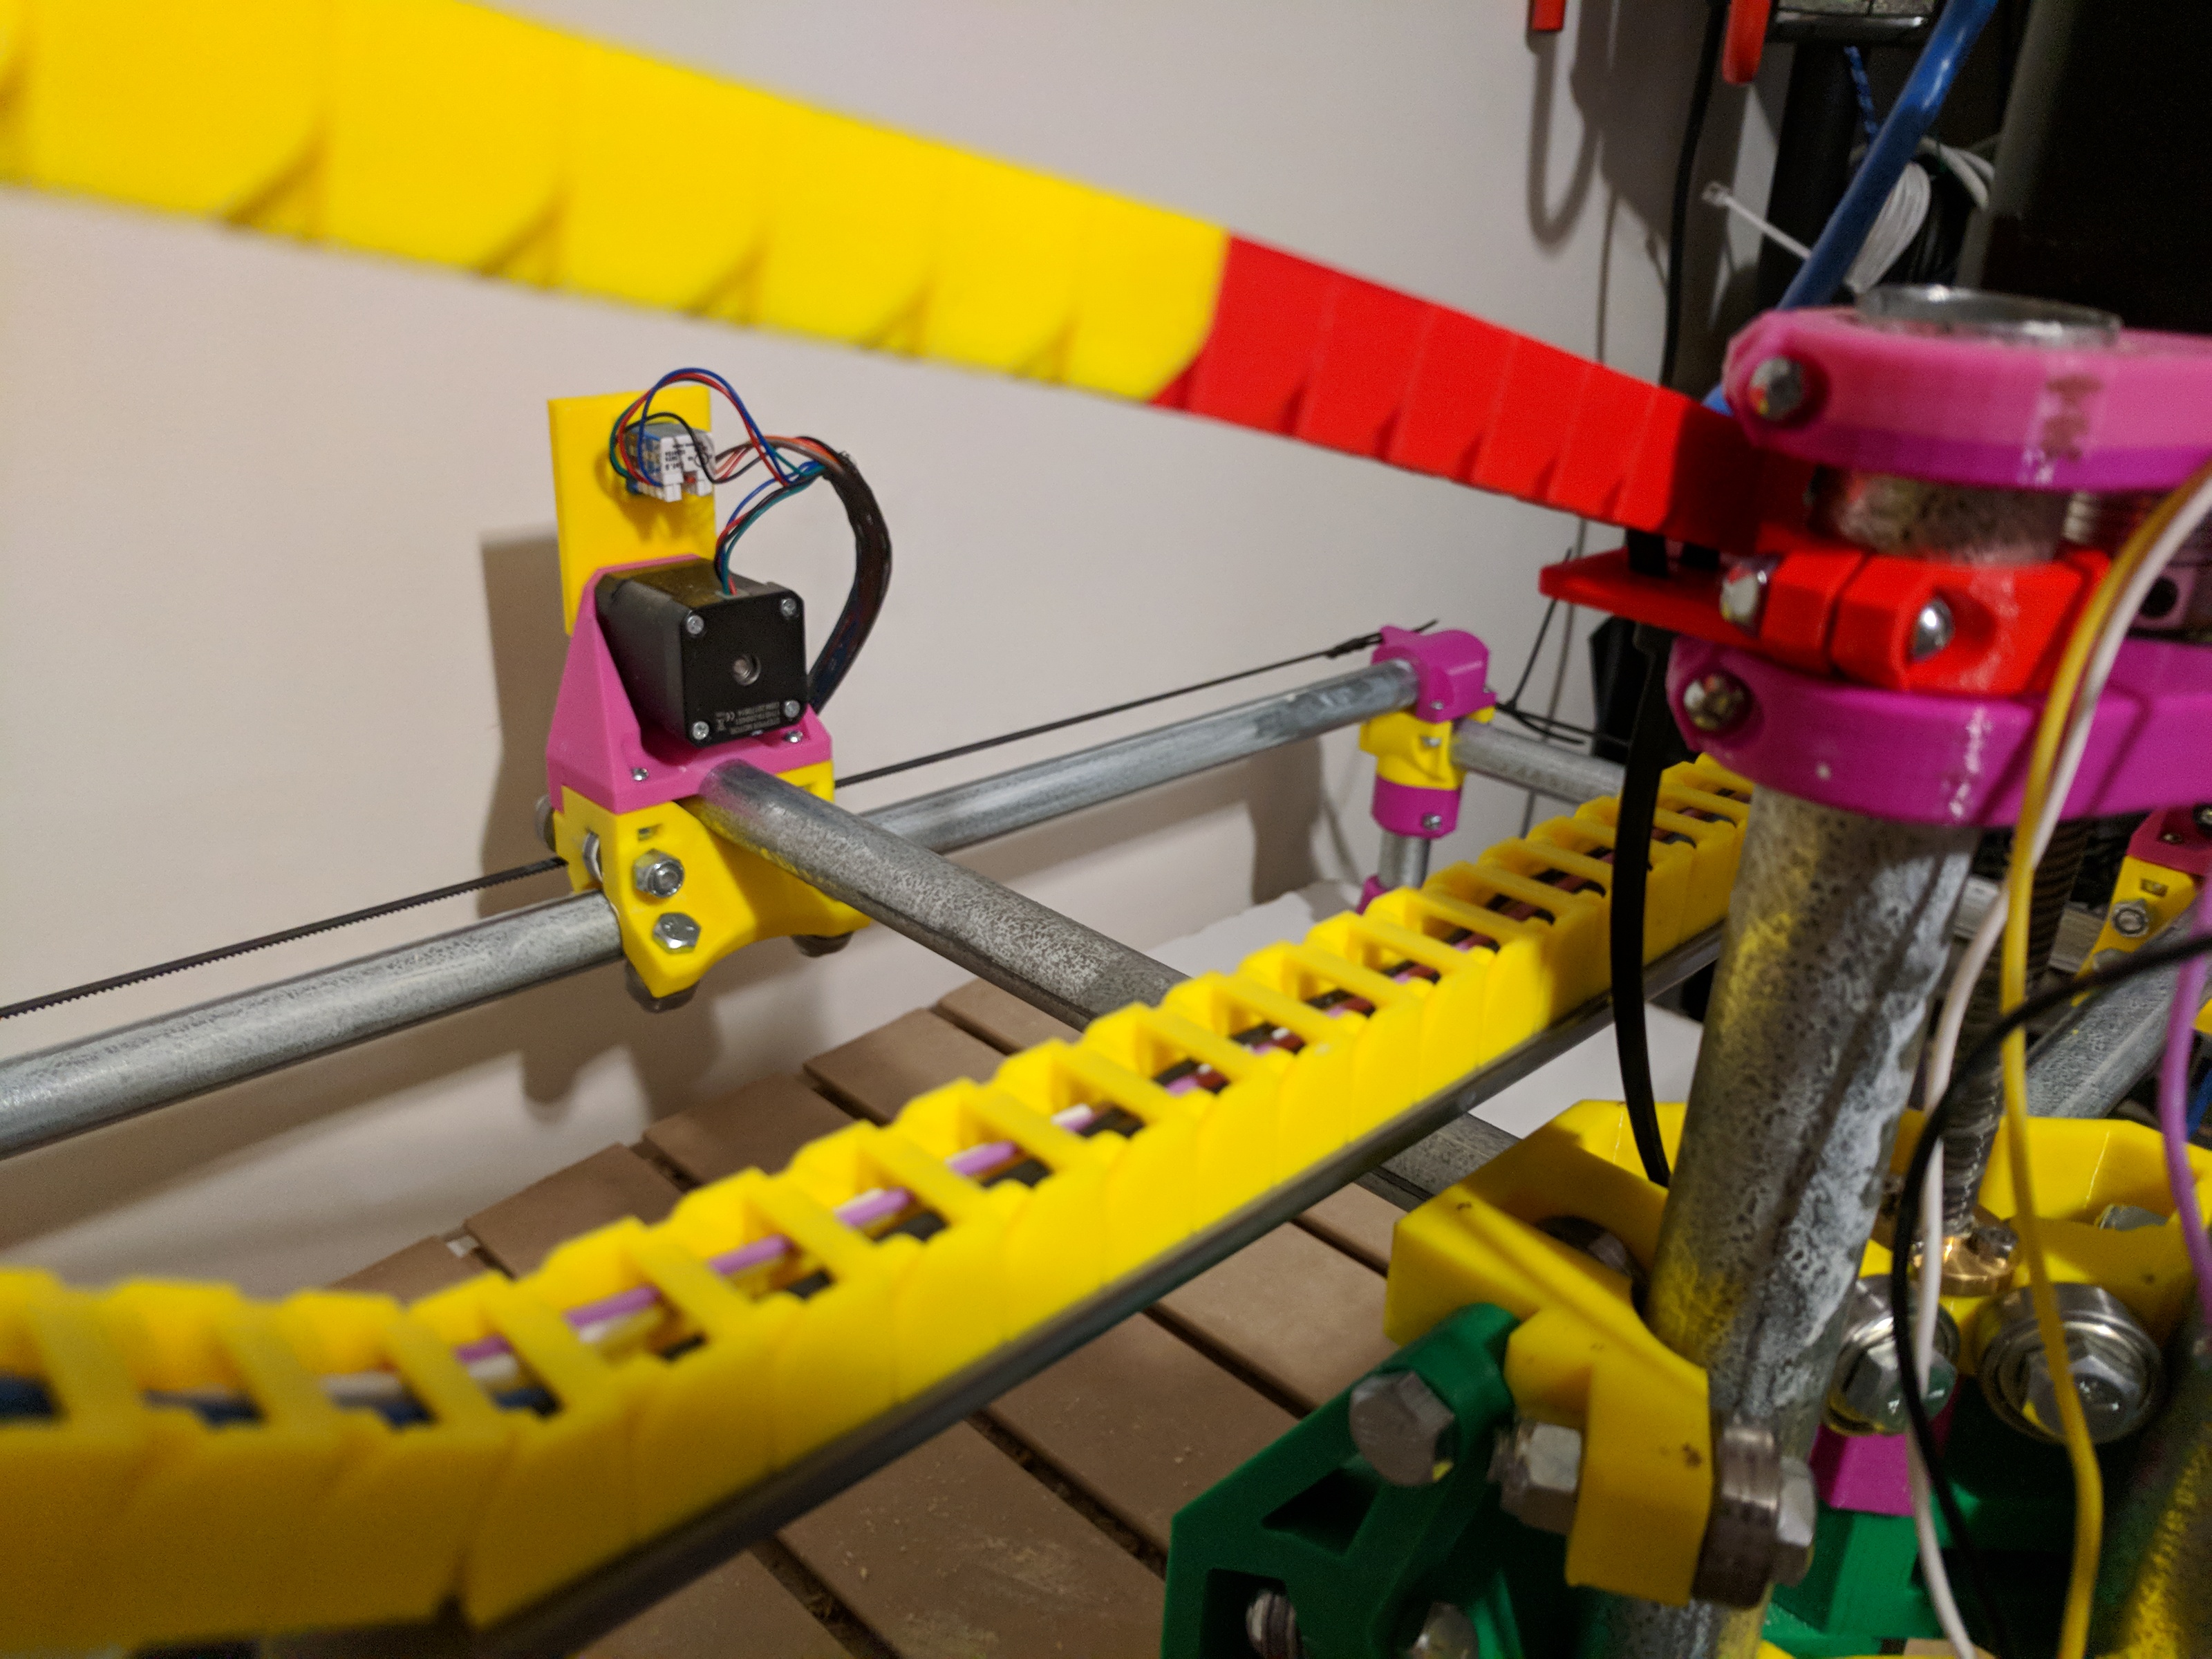
Endstops
Bought these limit switches and printed these endstop mounts.
The endstops are mounted on the two tubes that go through the center of the machine, one at each end. This lets me home the machine to get repeatable positioning even after restarting the machine, and prevents it from trying to tear itself apart if it hits the ends of it’s travel.
GRBL Controller
I’ll do a separate detailed post about this, but I swapped out the RAMPS controller for a Protoneer Raspberry Pi CNC board./specifications/).
There are a lot of advantages to the GRBL setup. The one downside is you can’t use it as a 3D printer, but I already have a separate 3D printer so I was never planning to do that anyways.
Lasers
I started off with this US$38 500mW laser module but eventually upgraded to this US$62 2500mW version, mostly for the better control board that supports TTL signaling. The 500mW laser did work somewhat by turning it on and off using the Heat2 header on the RAMPS board. But it doesn’t really turn on and off instantly, so the results weren’t perfect. The GRBL controller works better with TTL signaling anyways, so I upgraded.
I designed this 3D printed mount for the laser.
To go with the laser, I bought some laser safety glasses. Not cheap chinese ones. Real, quality safety glasses. You only get one set of eyes, and safety gear isn’t worth cheaping out on. The glasses have to match the wavelength of laser you are using. I got these Eagle Pair 190-540nm OD6 Slip Over glasses because I wear normal glasses under them. With shipping they cost more than the laser, but it’s worth it to protect my eyes and so that I can watch the laser do it’s work - even if you didn’t care about melting your eyeballs, the laser light is too bright to see what it’s doing clearly without them.
Unfortunately the laser isn’t powerful enough to cut even 1/8” plywood, but it does a great job of etching things into it.

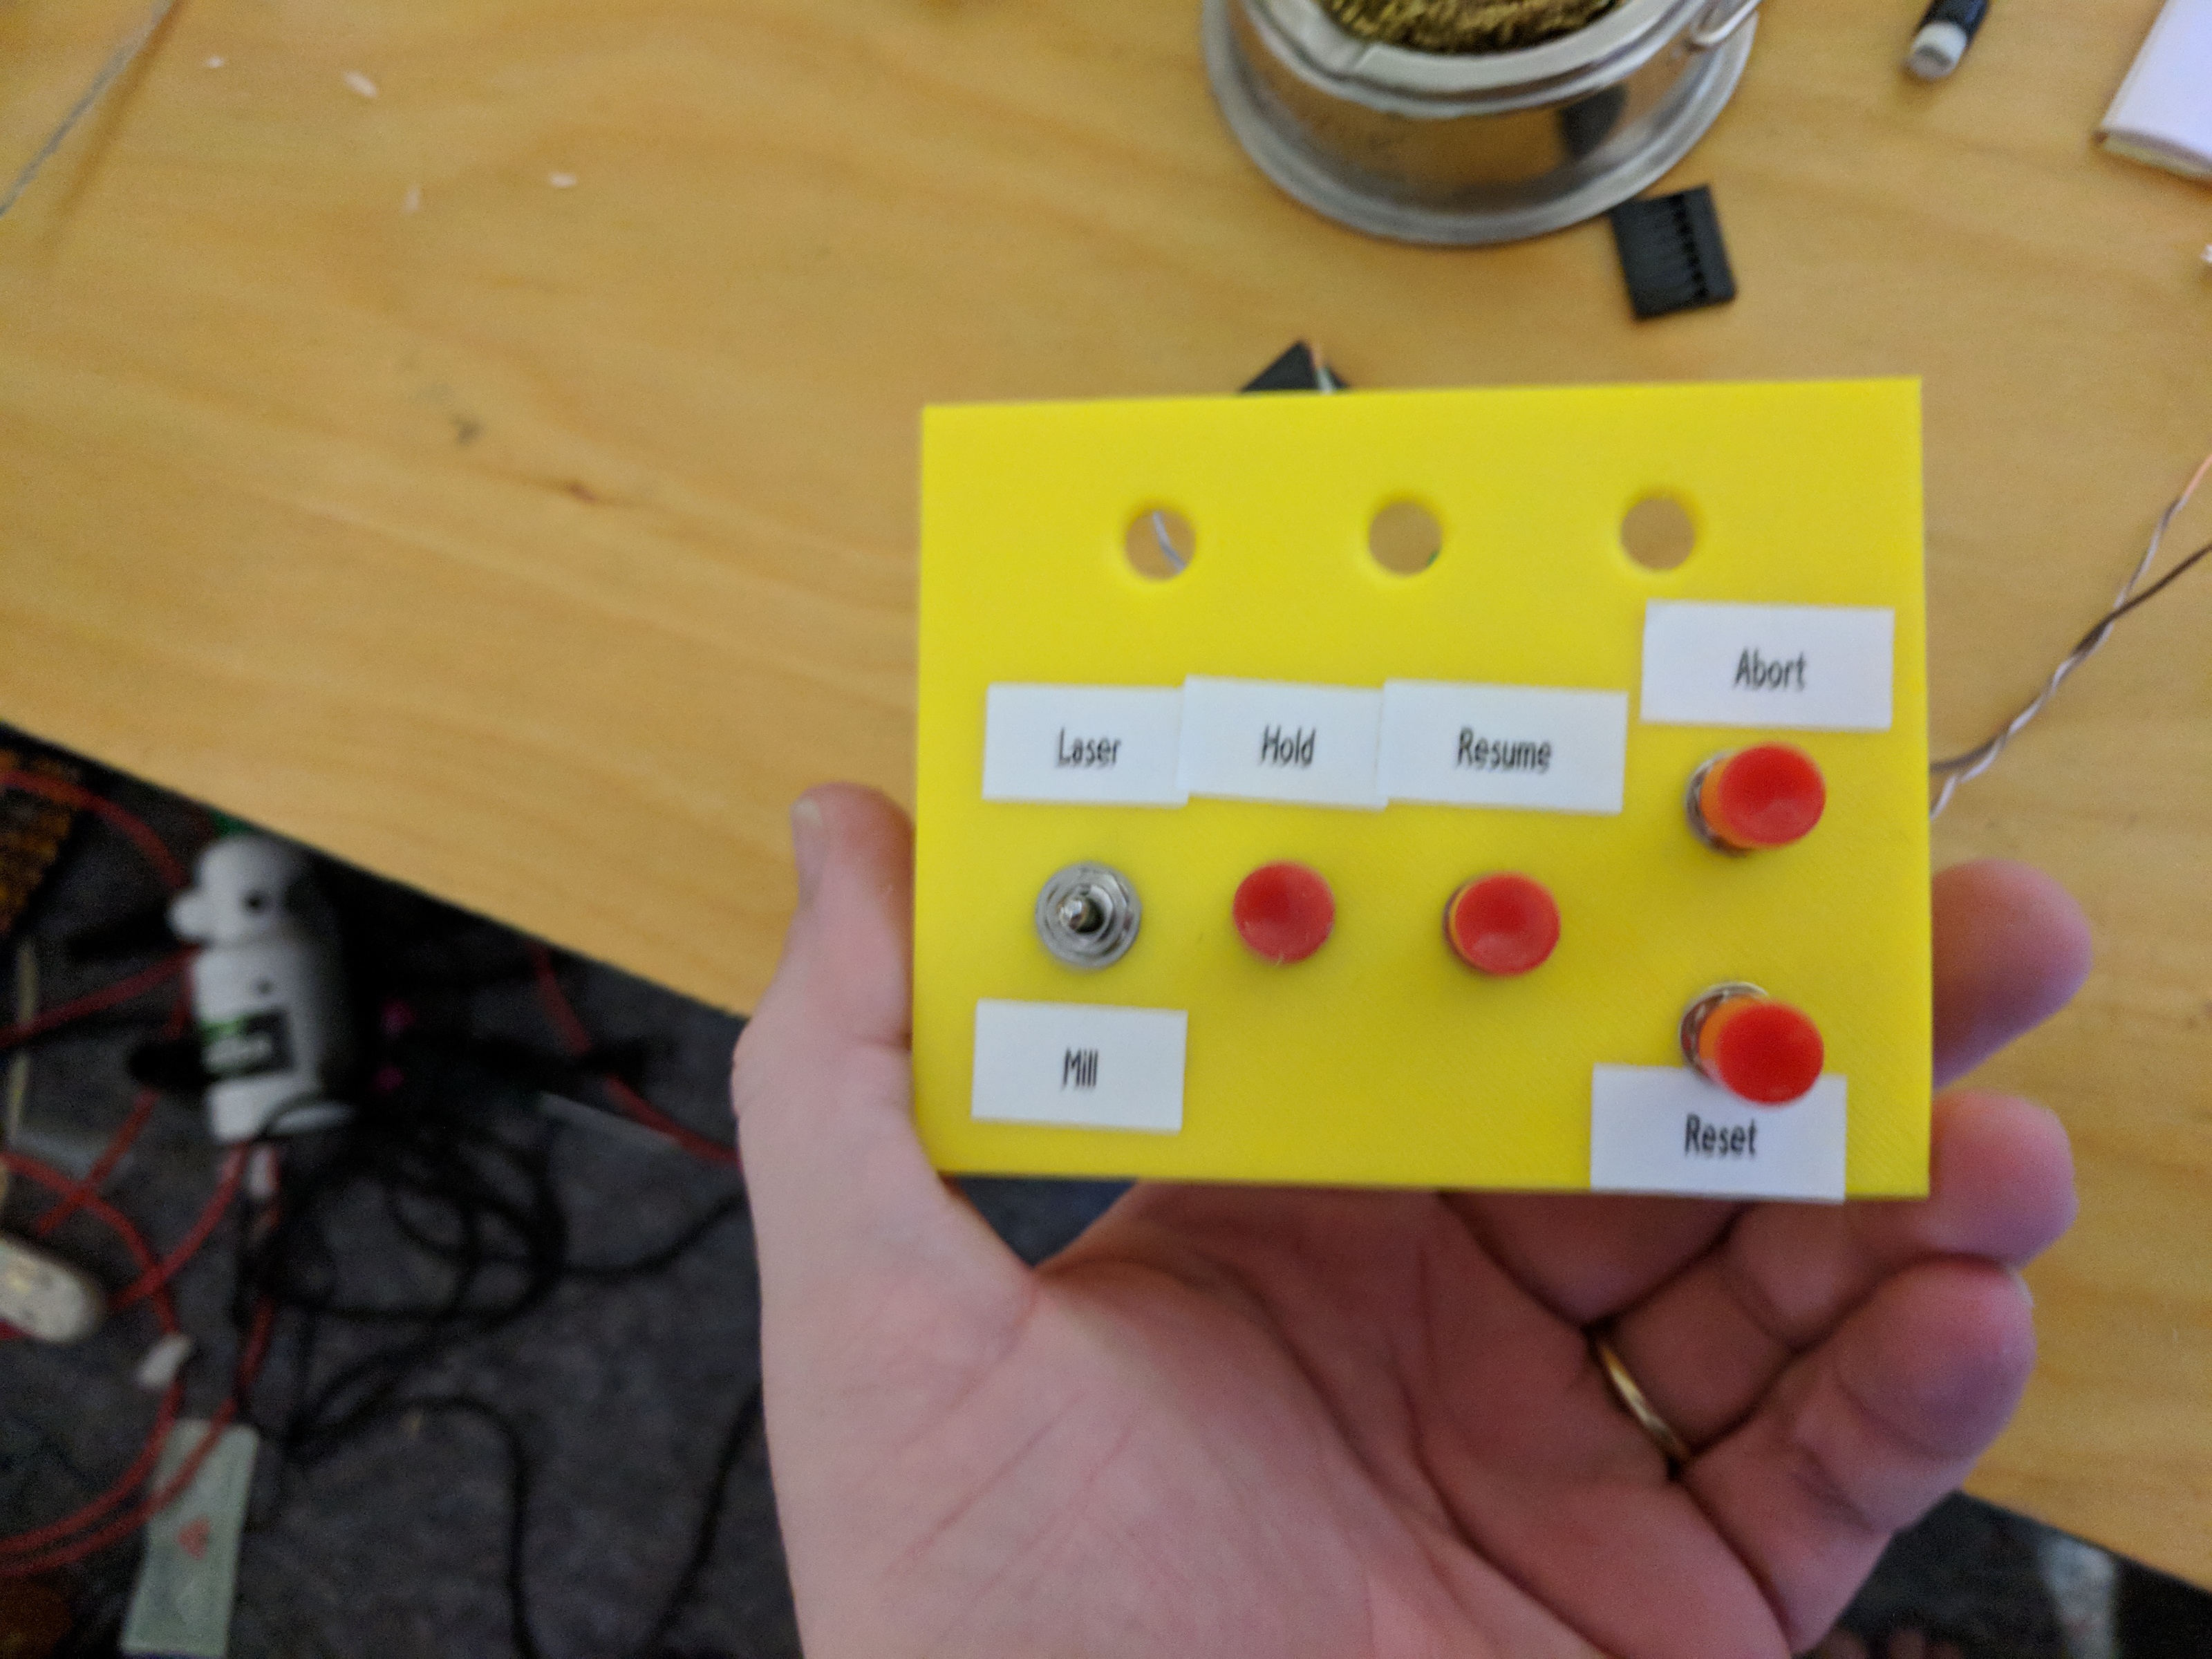
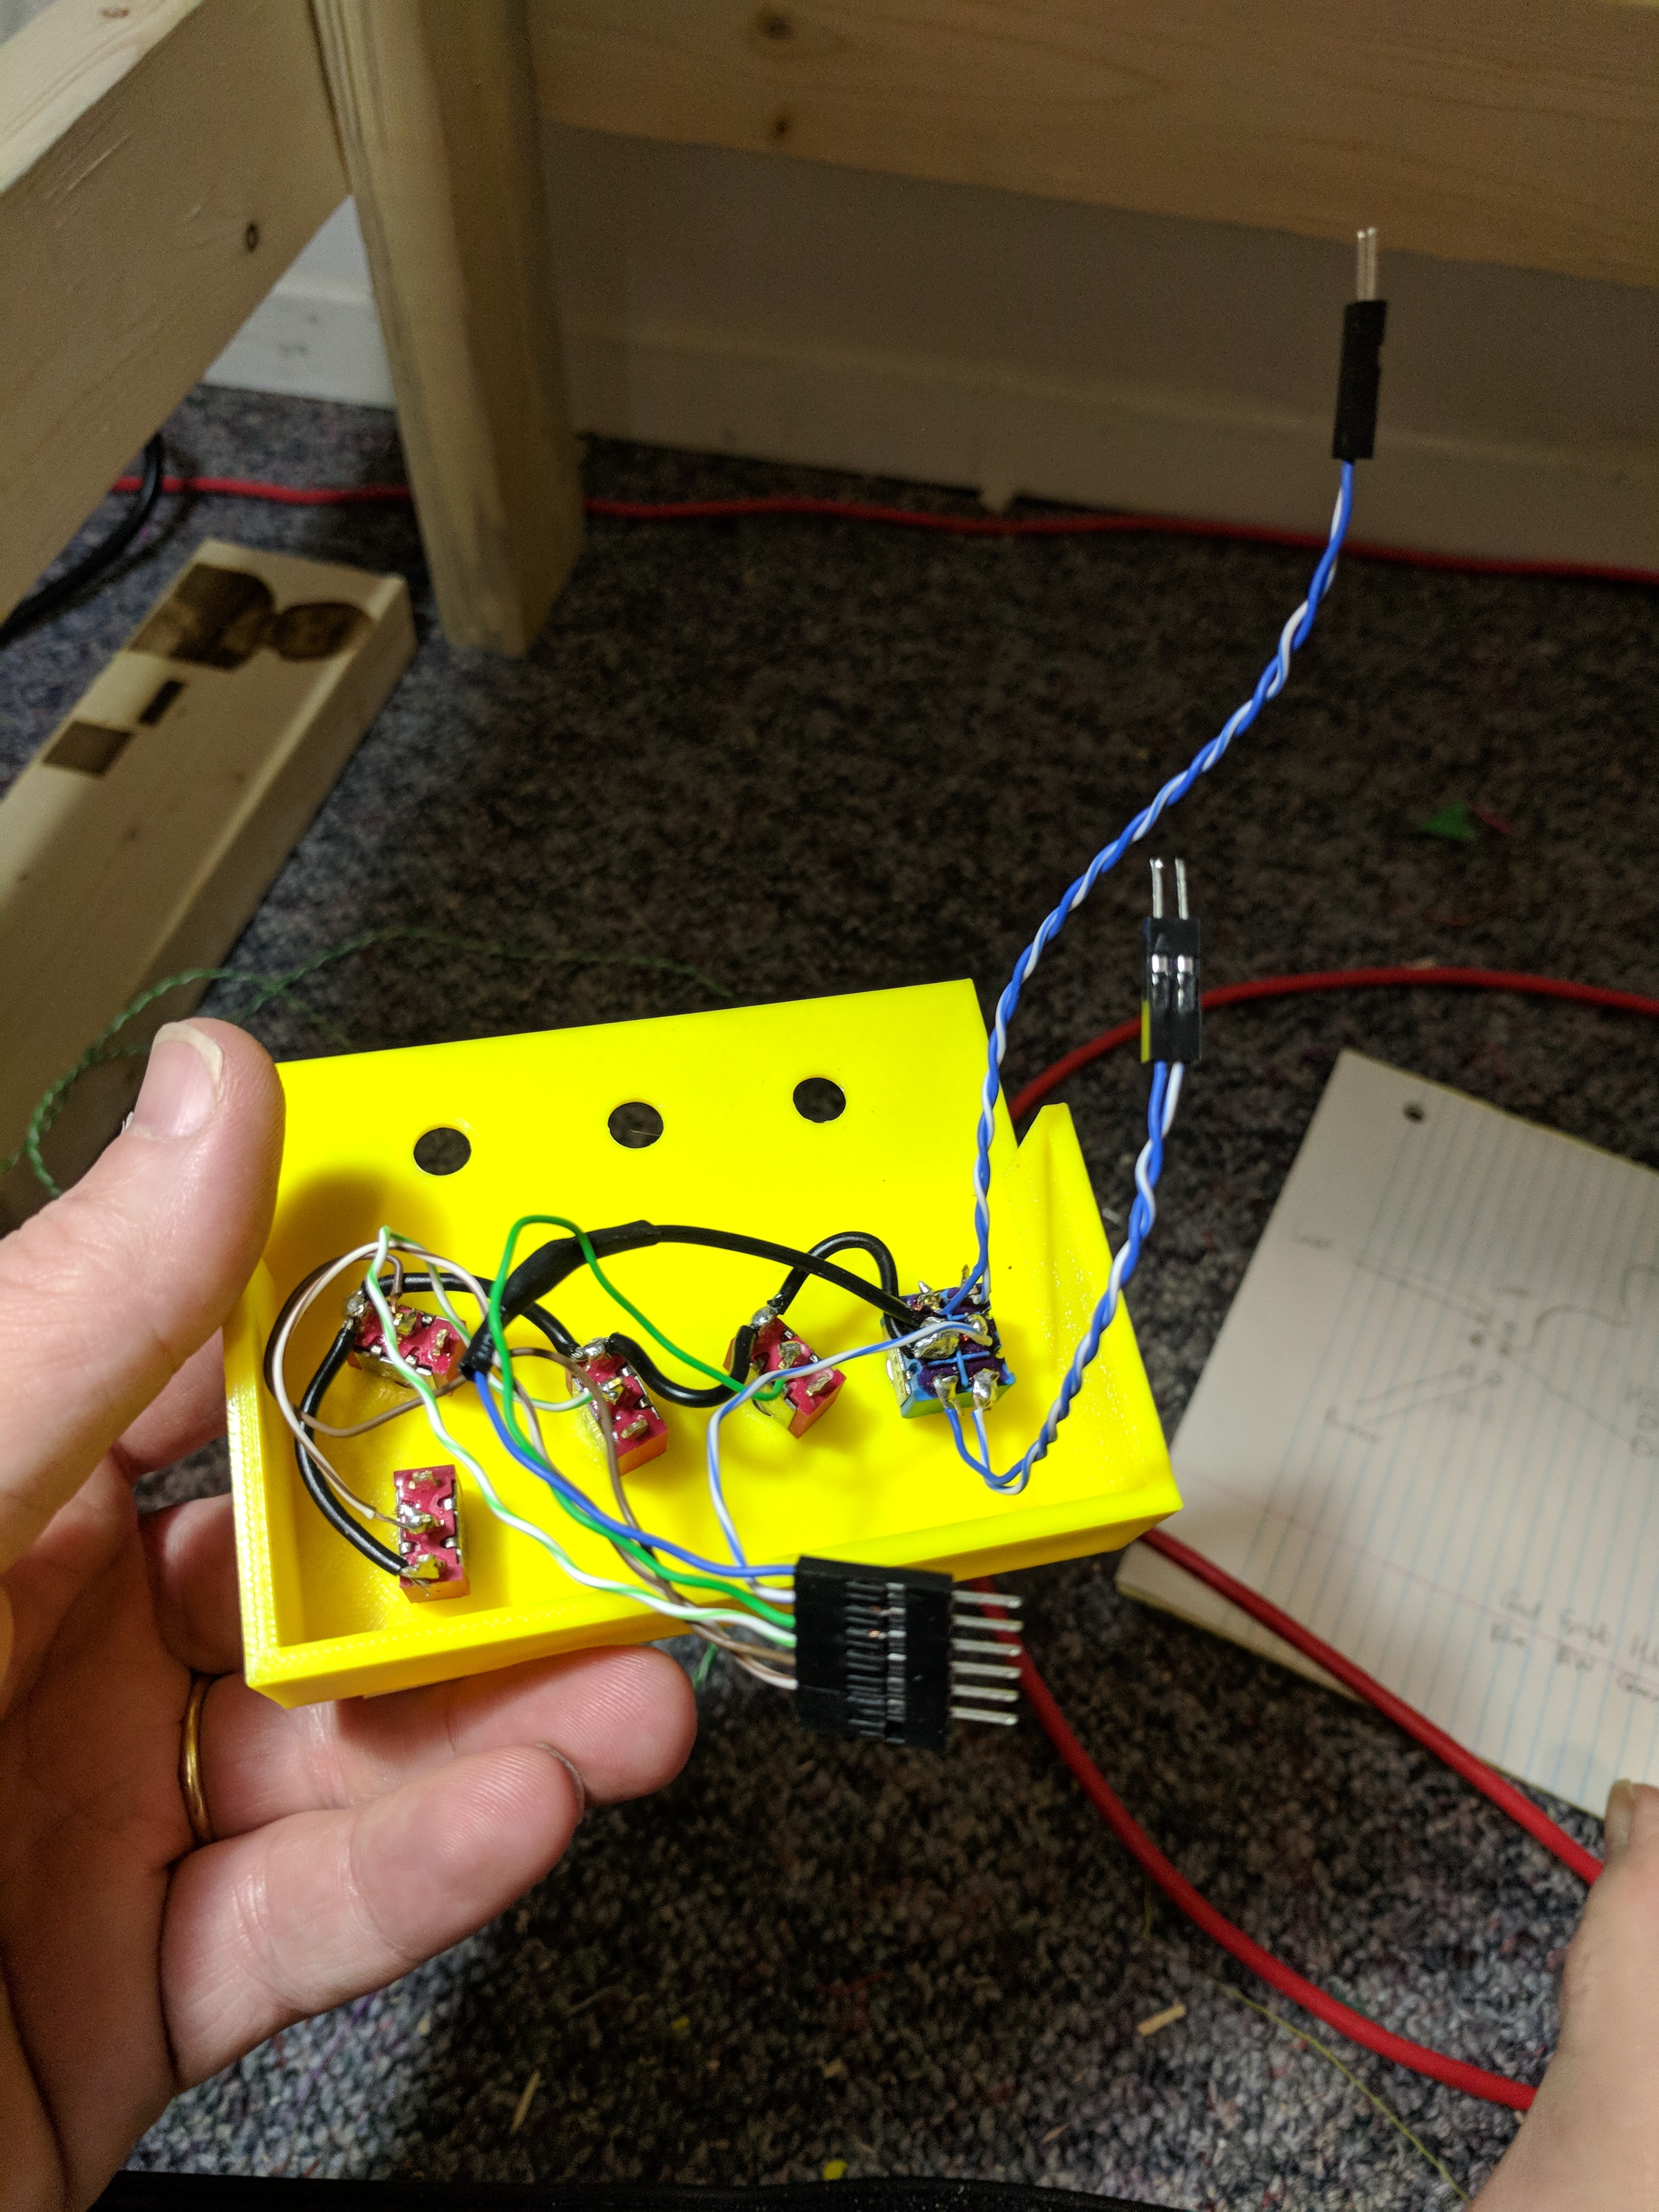
Control panel
I tried hooking up a touchscreen monitor to the machine but didn’t like the results. Most of the adjustments are done from my desktop which is only a couple feet from the machine.
But I do need to be able to quickly stop the machine, so I 3D printed a small control panel that mounts to the table. It lets me switch between laser and milling, which controls whether the tool output either goes to the IOT powerbar or directly to the laser board. I initially had them both connected, but when lasering the power bar clicks like crazy and would probably wear out the relay eventually.
The hold button pauses a job, leaving the mill on and locked in place. This is handy if I need to quickly pause the job because I need to leave the room or something. It can be started again with the resume button. The abort button is what you hit if the machine crashes (physically crashes, like into the wood) or you notice something wrong with the job and need it to stop. This can’t be resumed. And the buttom right button is reset which completely resets the controller.
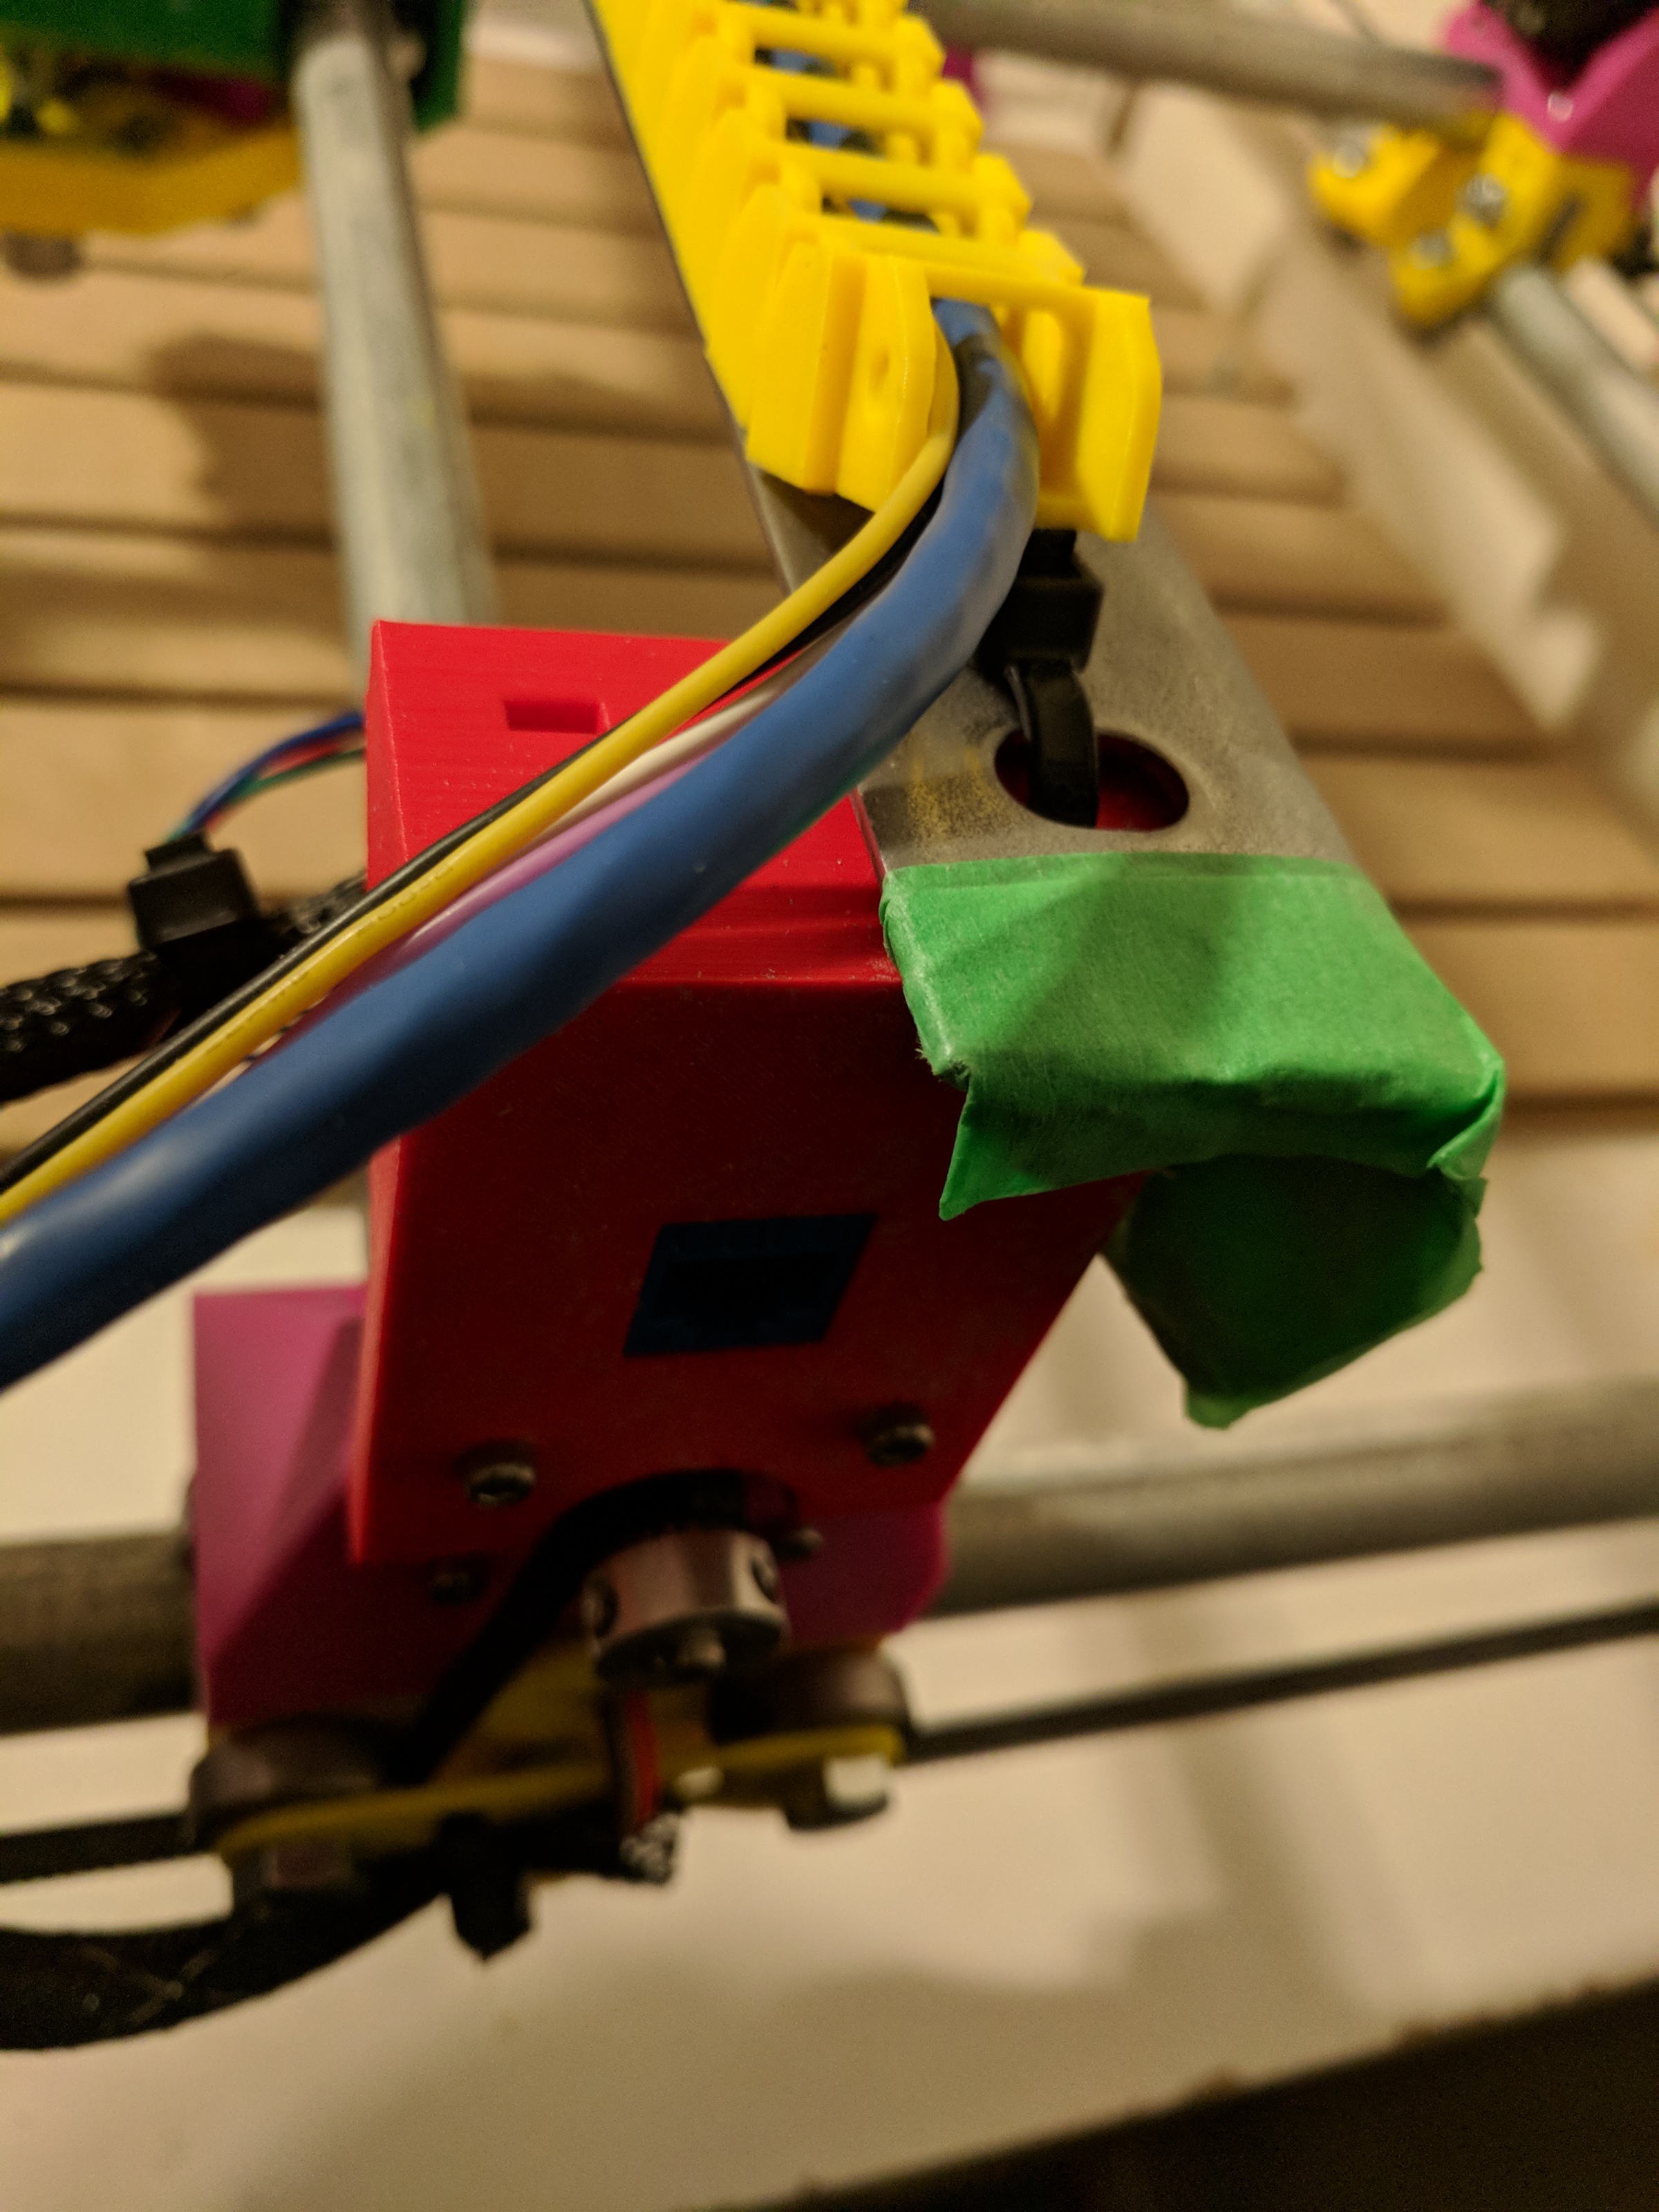
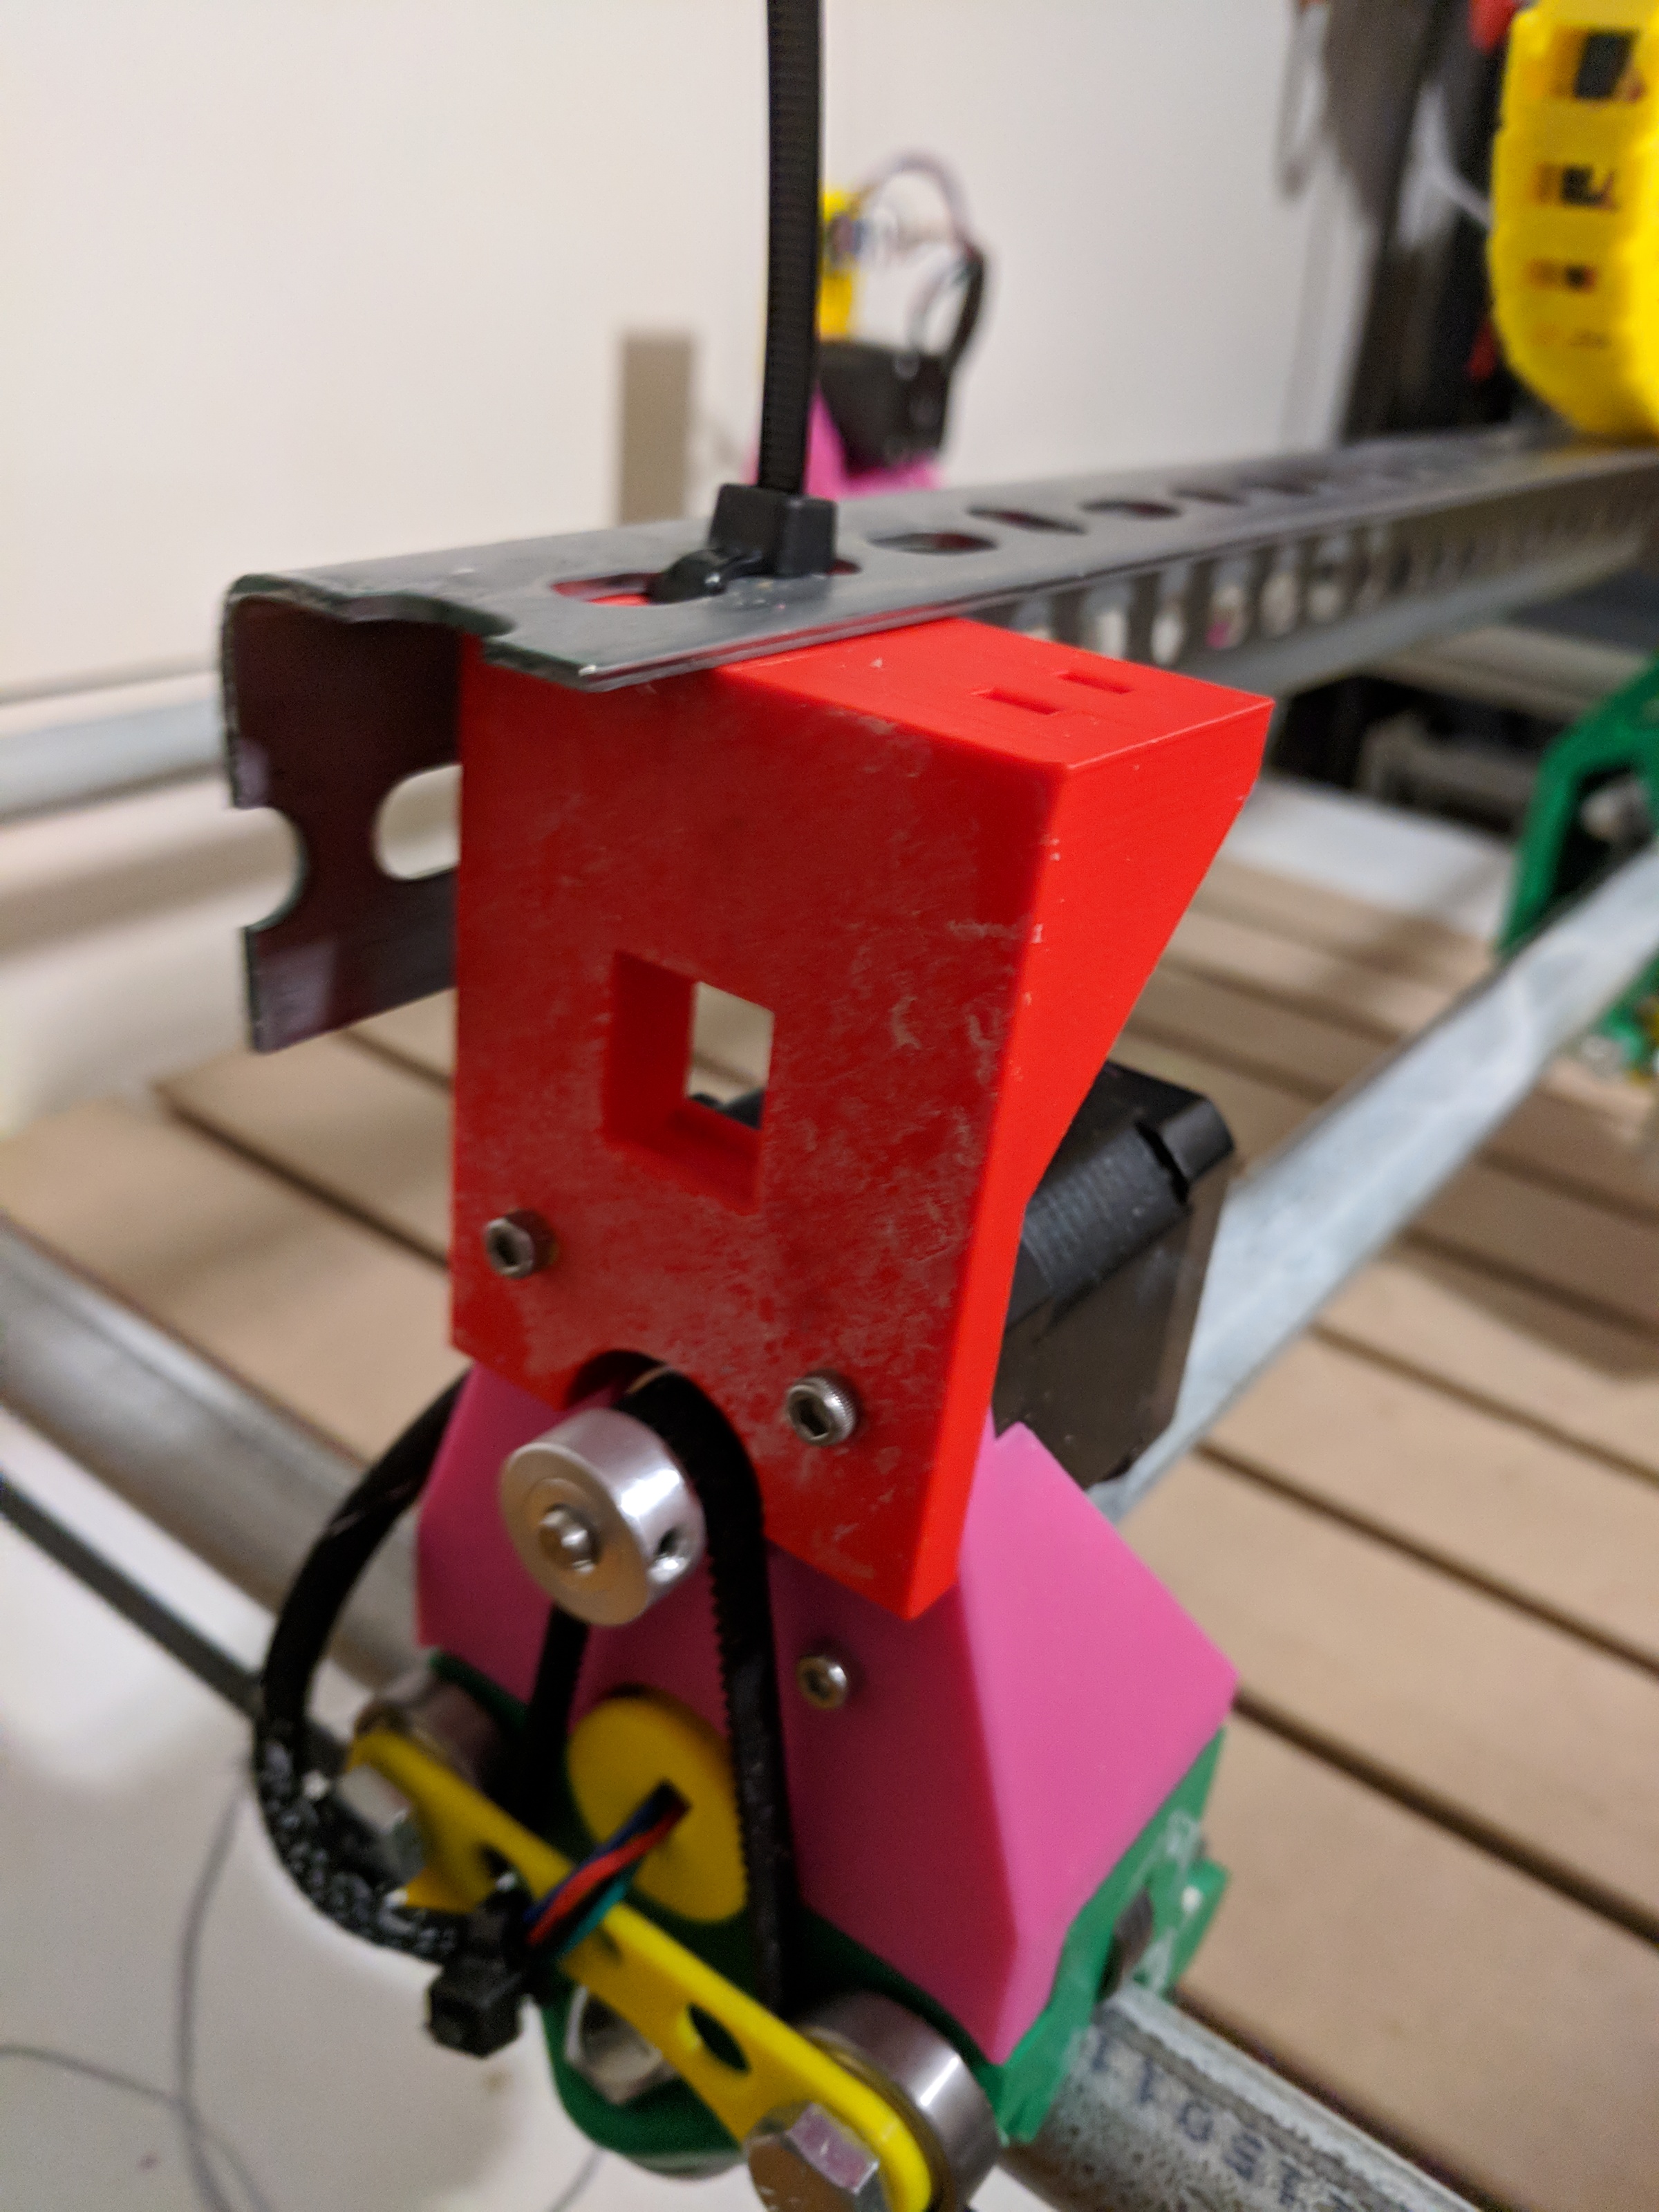
Drag Chain for Z Axis Wiring
Mounted a piece of slotted angle bar stuff across the X axis, and printed a bunch of this print in place drag chain to run the wires for the stepper motor and laser through. This ensures they don’t get tangled up in the machine.
I swapped out the ethernet holder on the X axis for a modified one that includes a top and slots for mounting the bar with zip ties, added a second one to the other side, and used the this conduit clamp to mount it to the Z axis. The drag chain is zip tied to the bar at about the midpoint so it doesn’t fall off.
Stop Button
Added a big push to stop, twist to restart button to the front of the table. This unfortunately only controls the laser power, but is very handy to make sure the laser stays off when I don’t have the safety glasses on. I didn’t have it stop the milling tool because it won’t stop the motors - meaning the mill will definitely break.
Bed Leveling
Getting the height of all the legs just right make the tool be perfectly parallel to the bed is difficult. So I bought this dial indicator and created this dial gauge holder to mount it to the machine.
The needle in the dial gauge moves a big distance when the pin is pressed a tiny distance, so hooking this up and running it across the bed you can easily see very small height differences and adjust the legs until the needle barely moves no matter what direction you move it.

Slatboard and Clamps
I semi-permentantly screwed a piece of my slat board restore find to the table, letting me slot some big washers into it for attaching 3d printed clamps to. The slat board is intended to be consumable - it gets burnt and cut into with each project, but I can easily replace it with a new piece whenever I need to.